Cosmusic
2026
Mother
2026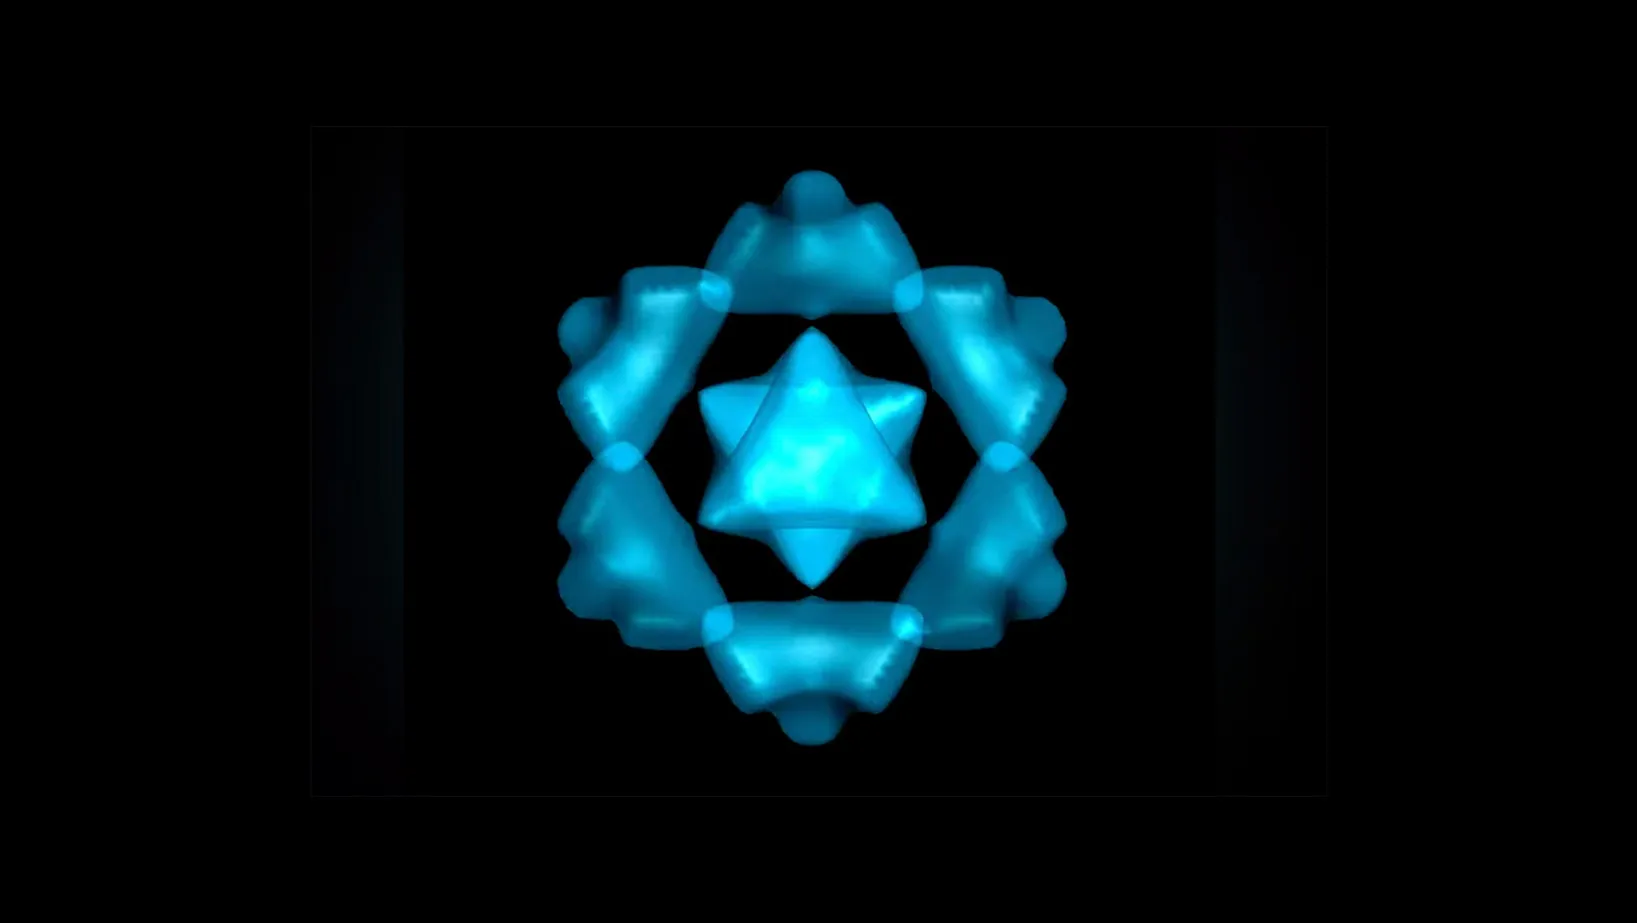
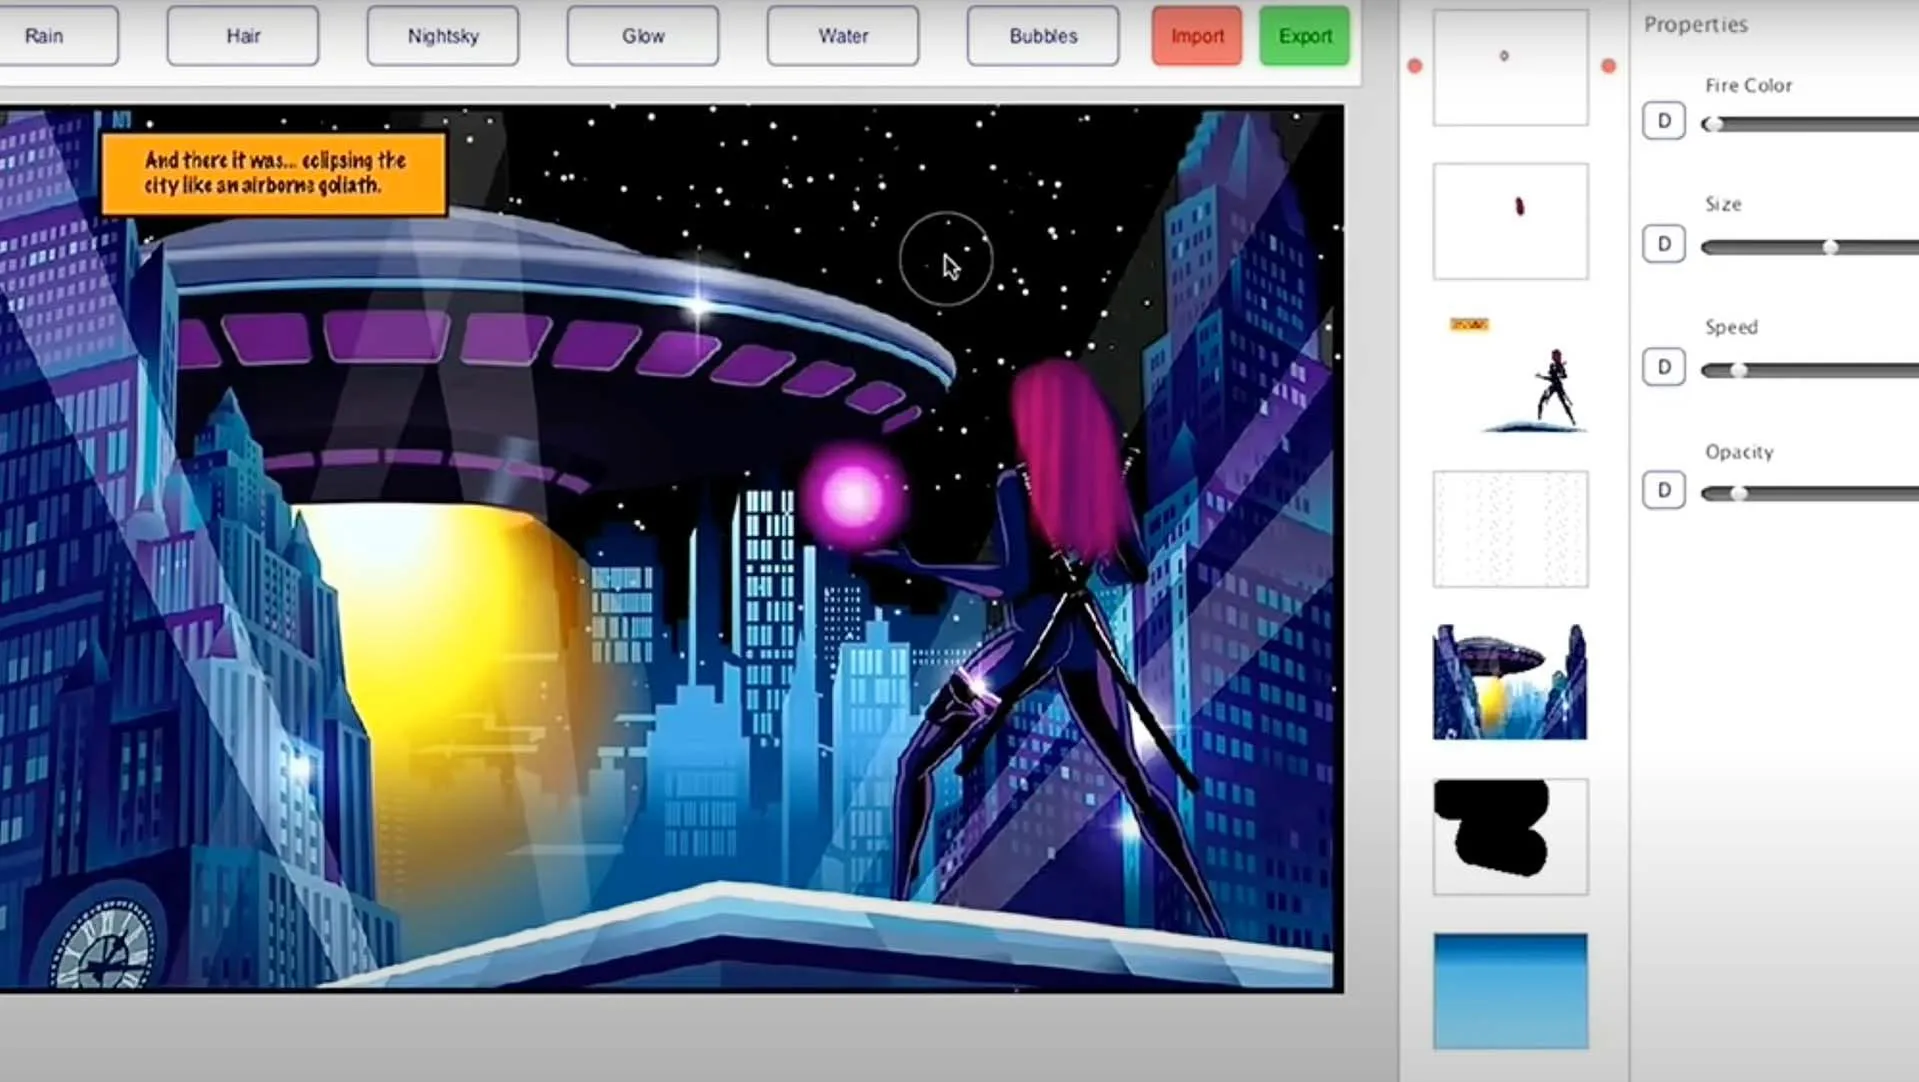
An Origin Story
2025
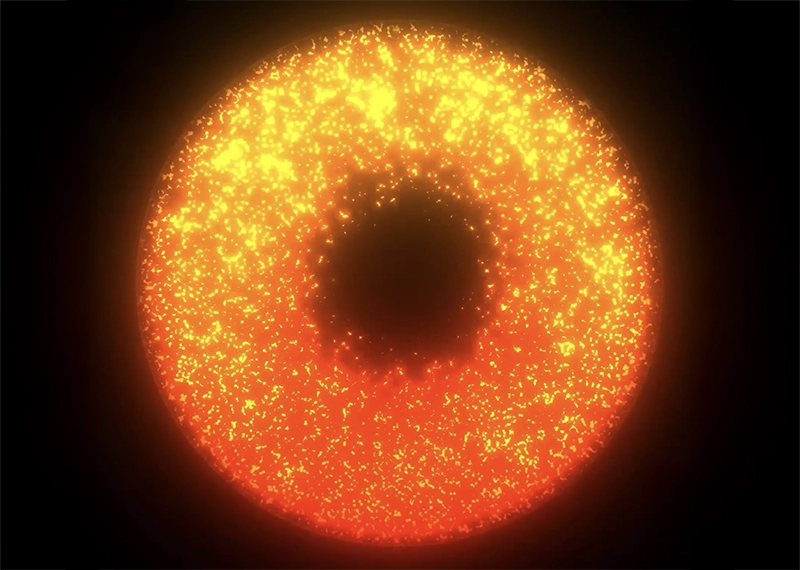
Waveworld
2025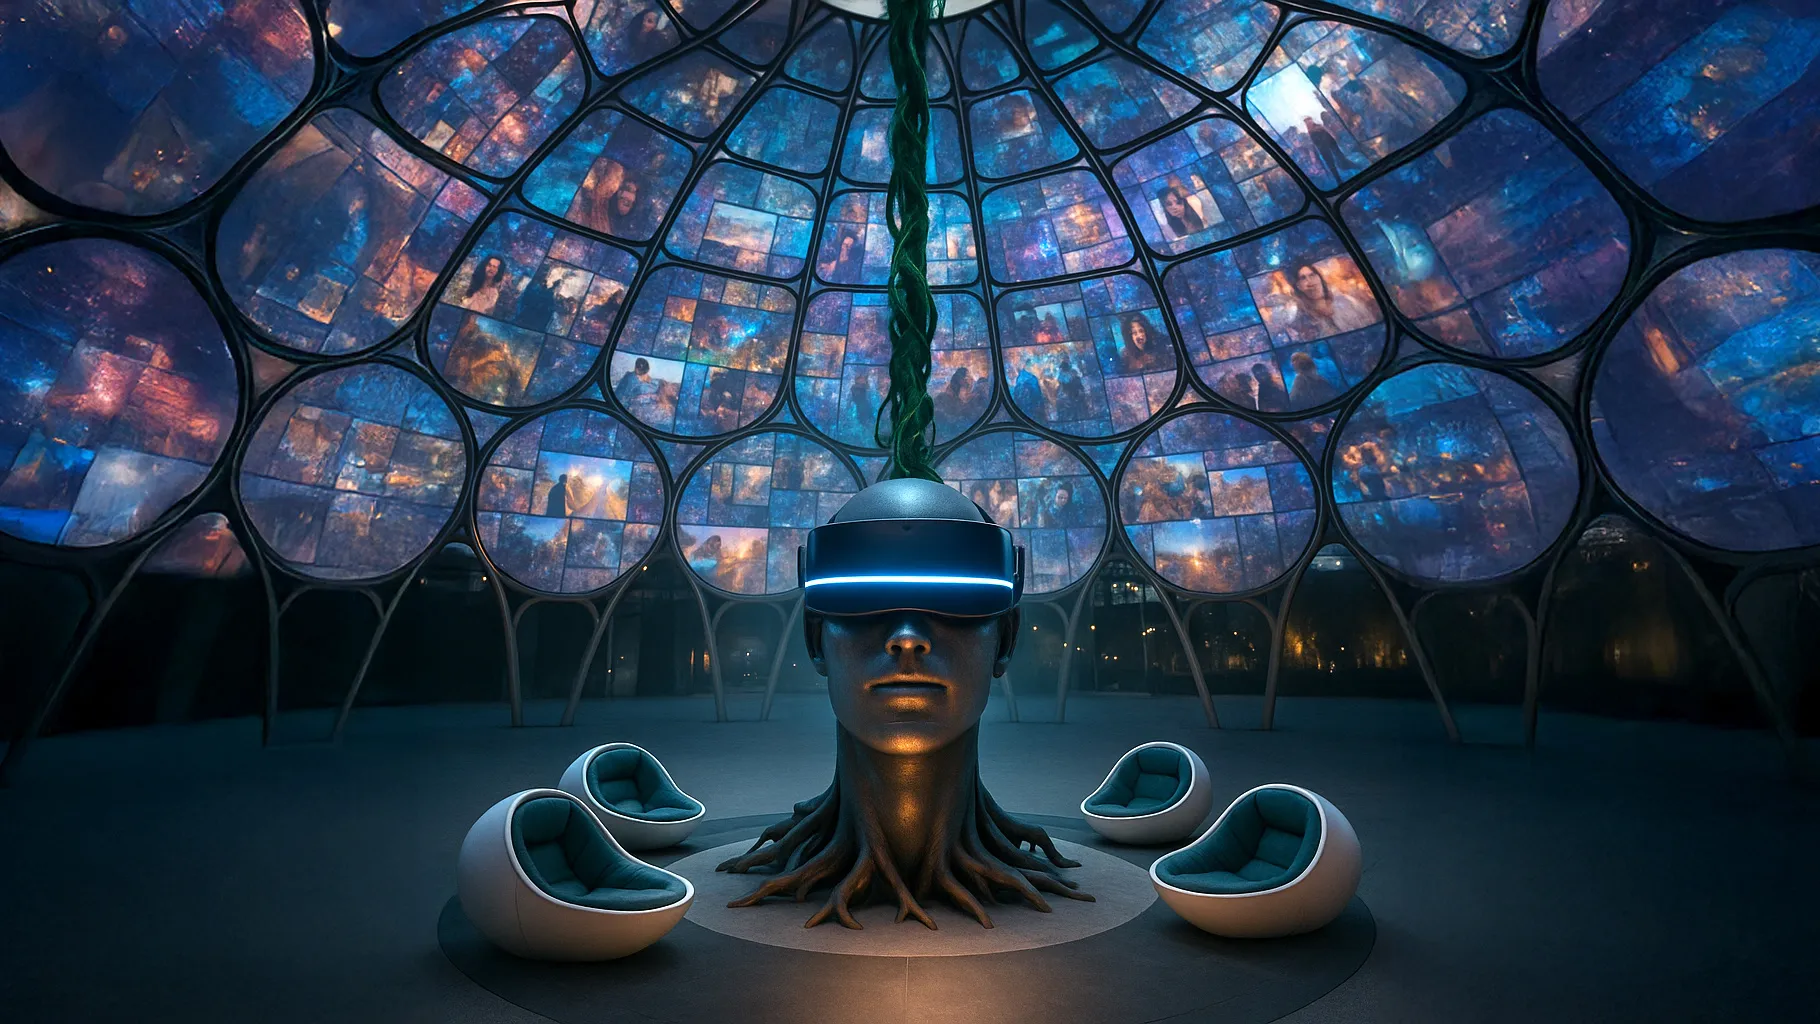
Numasync
2025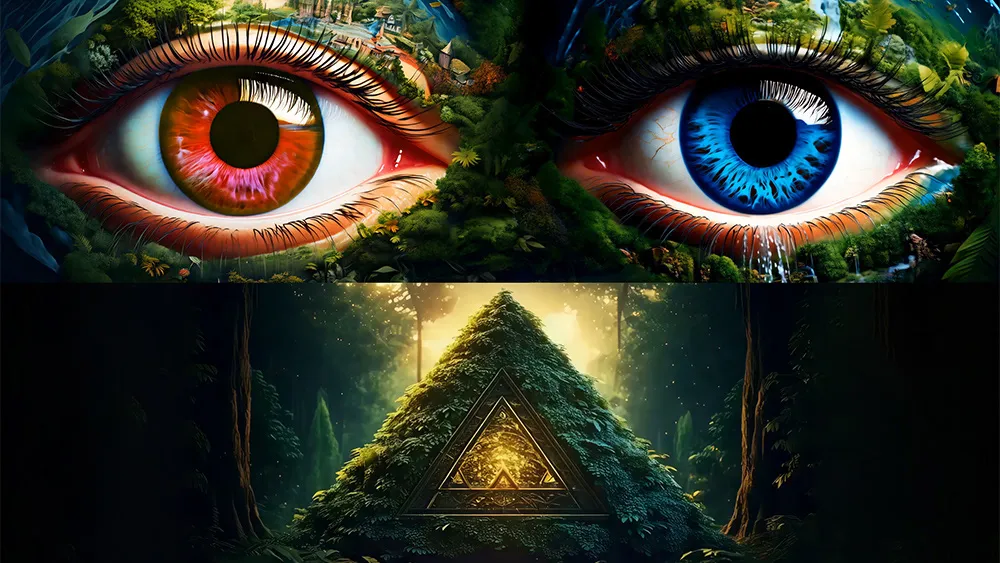
O
2025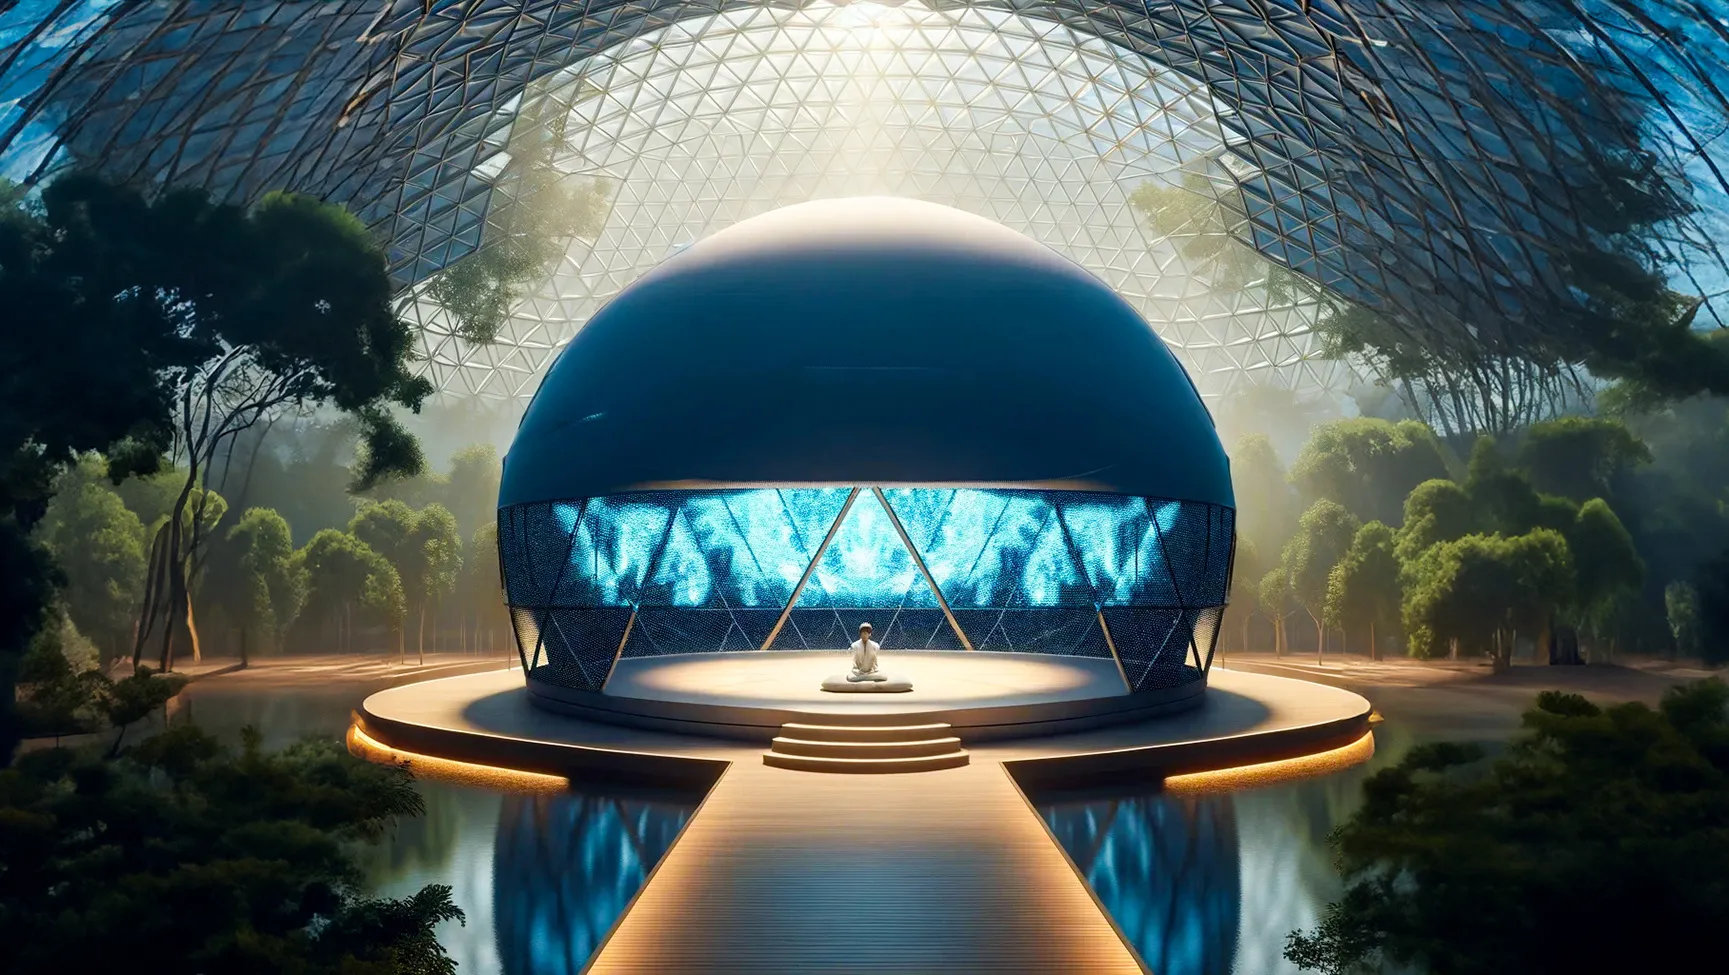
Oneiroglossa
2024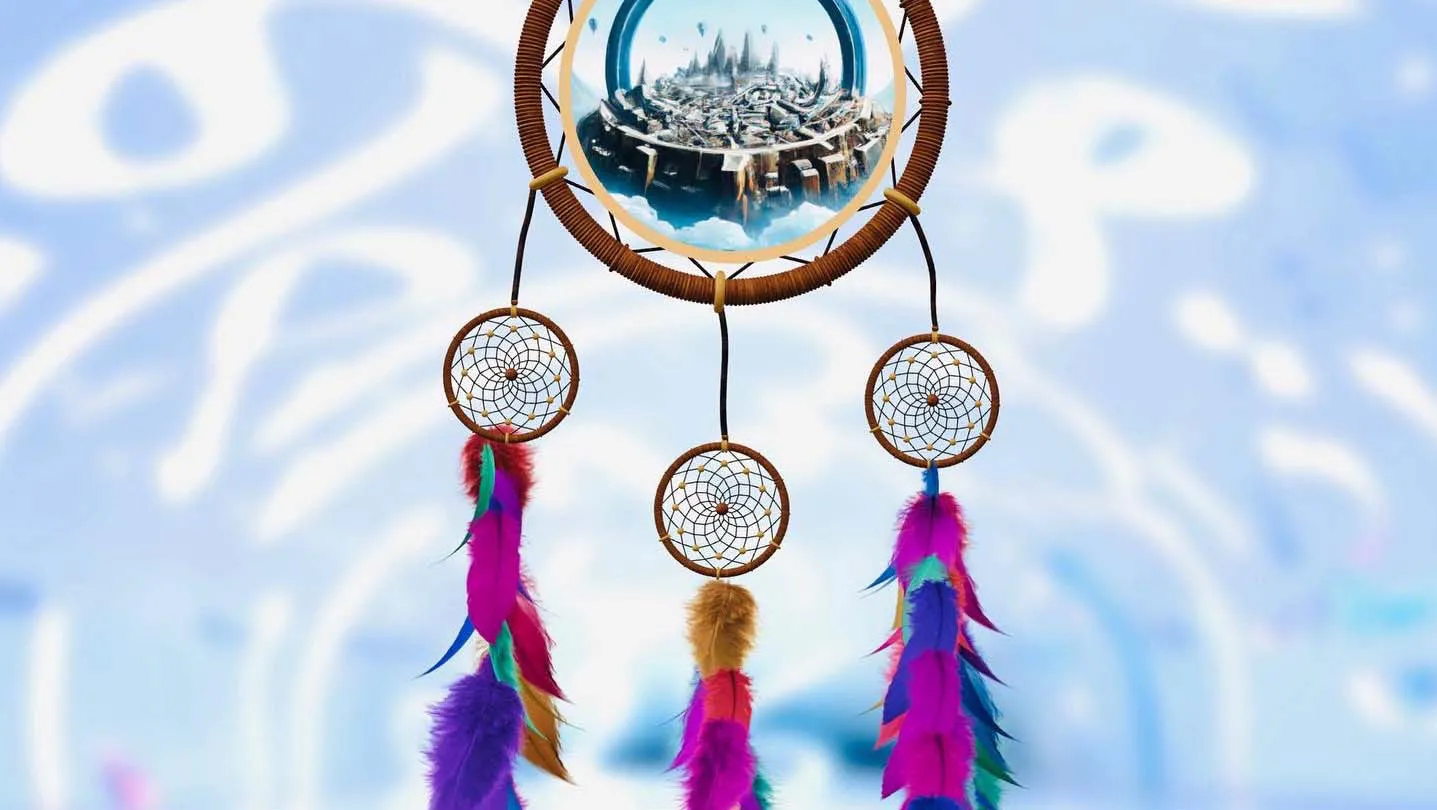
Dreamcatcher
2022
Yathra
2023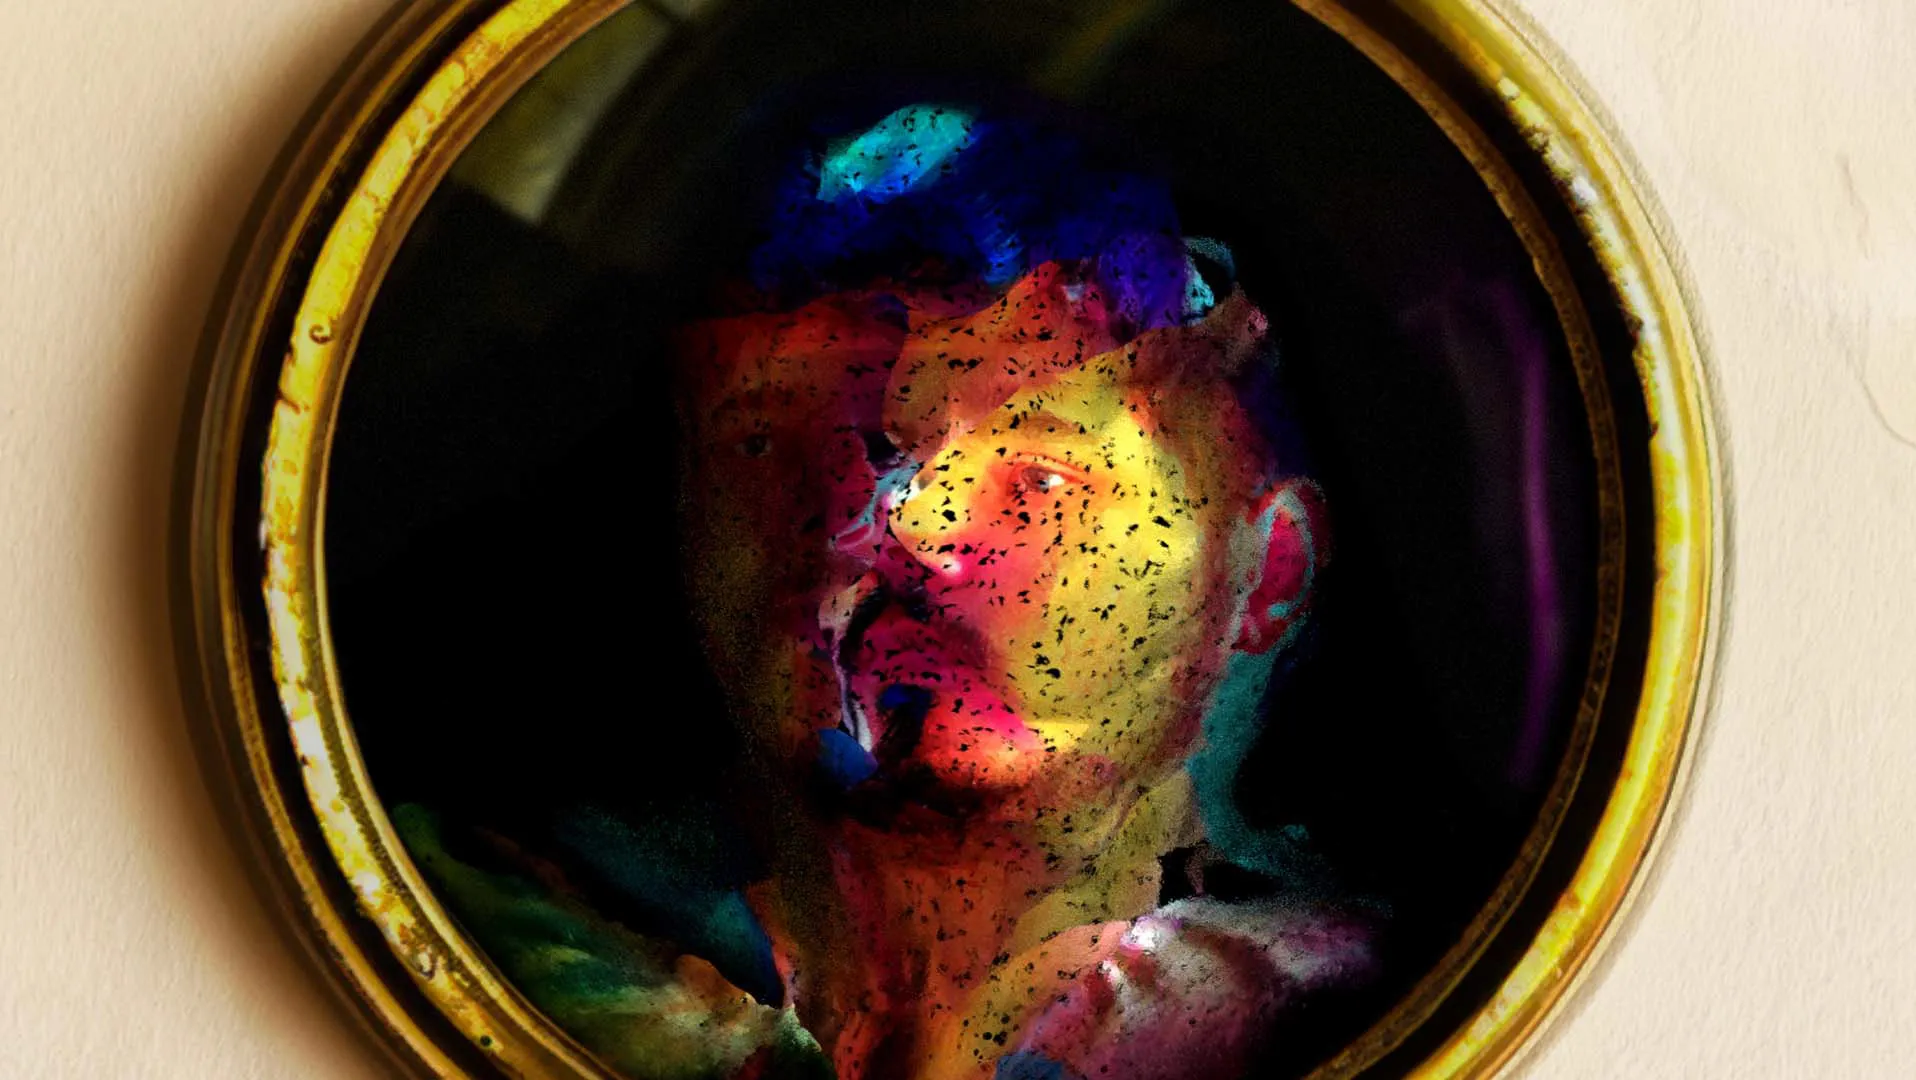
The Observer and the Observed
2023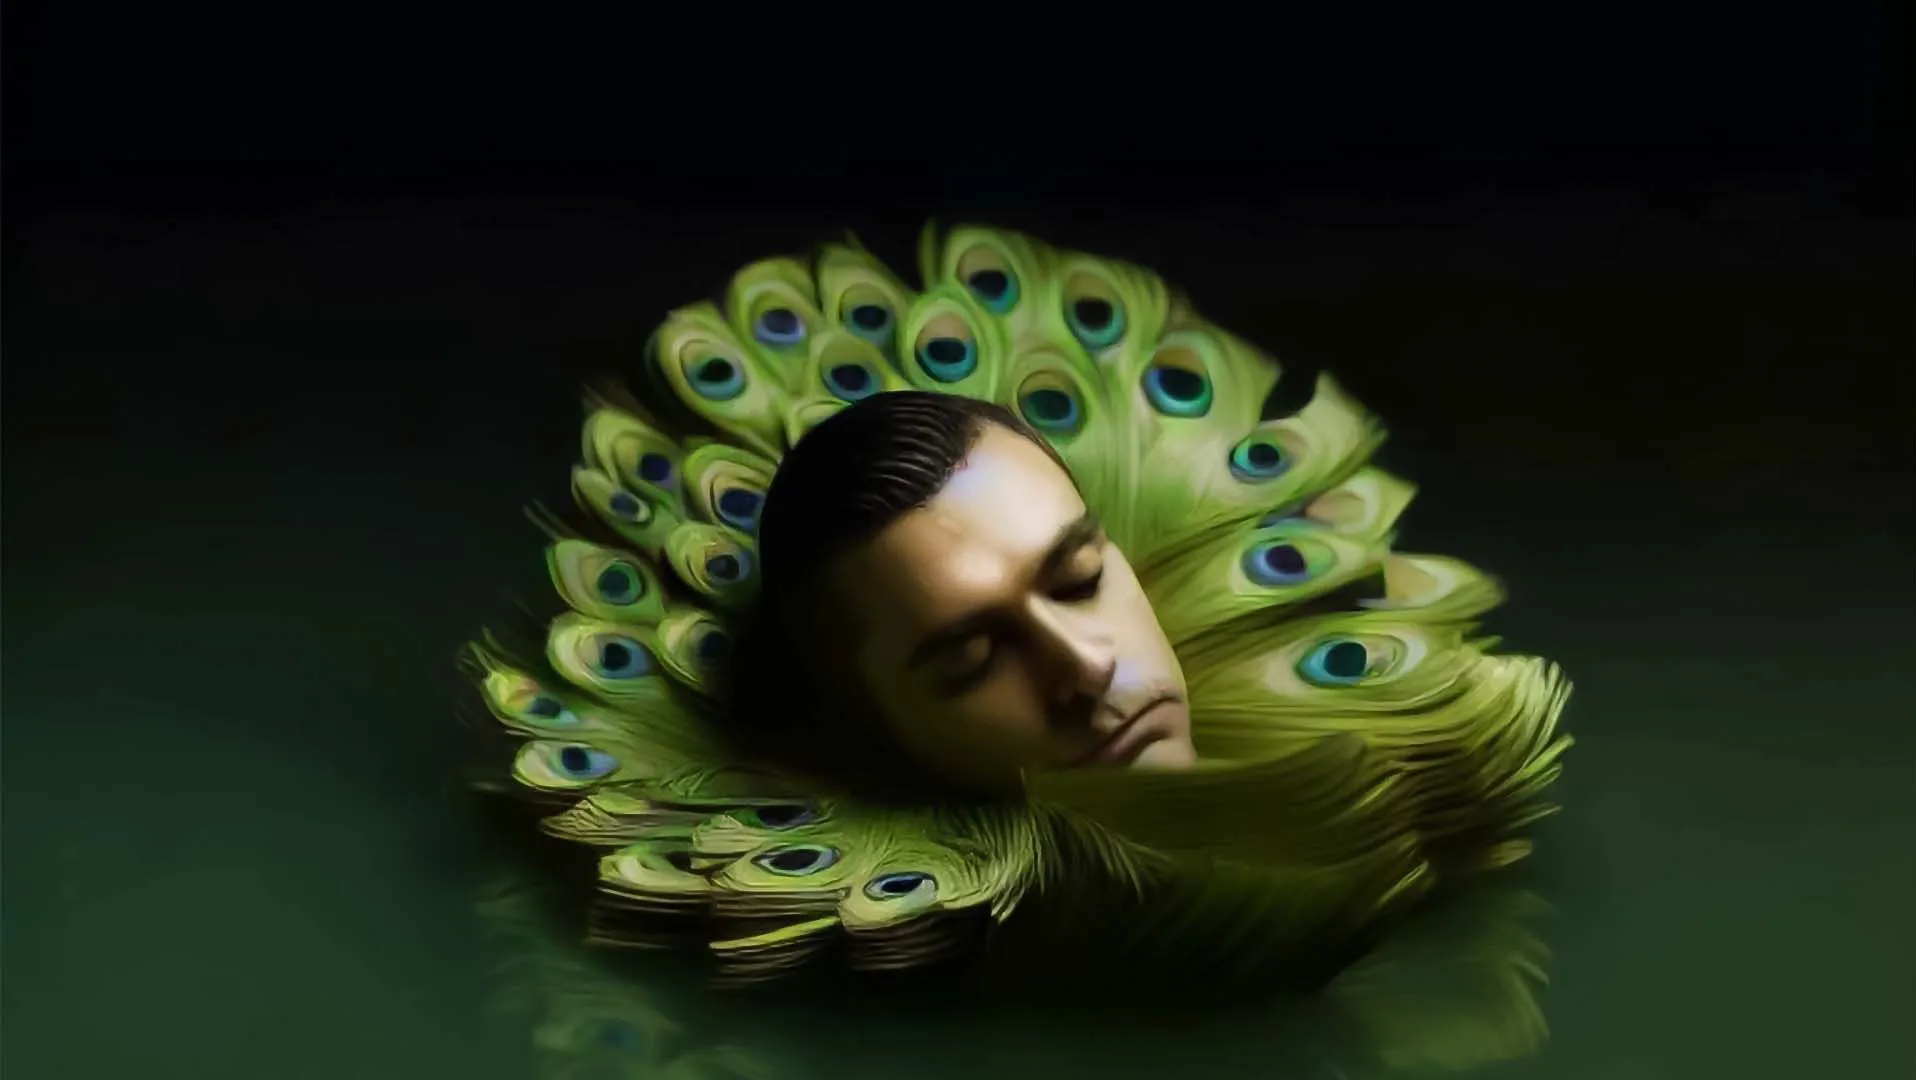
Self Discovery
2023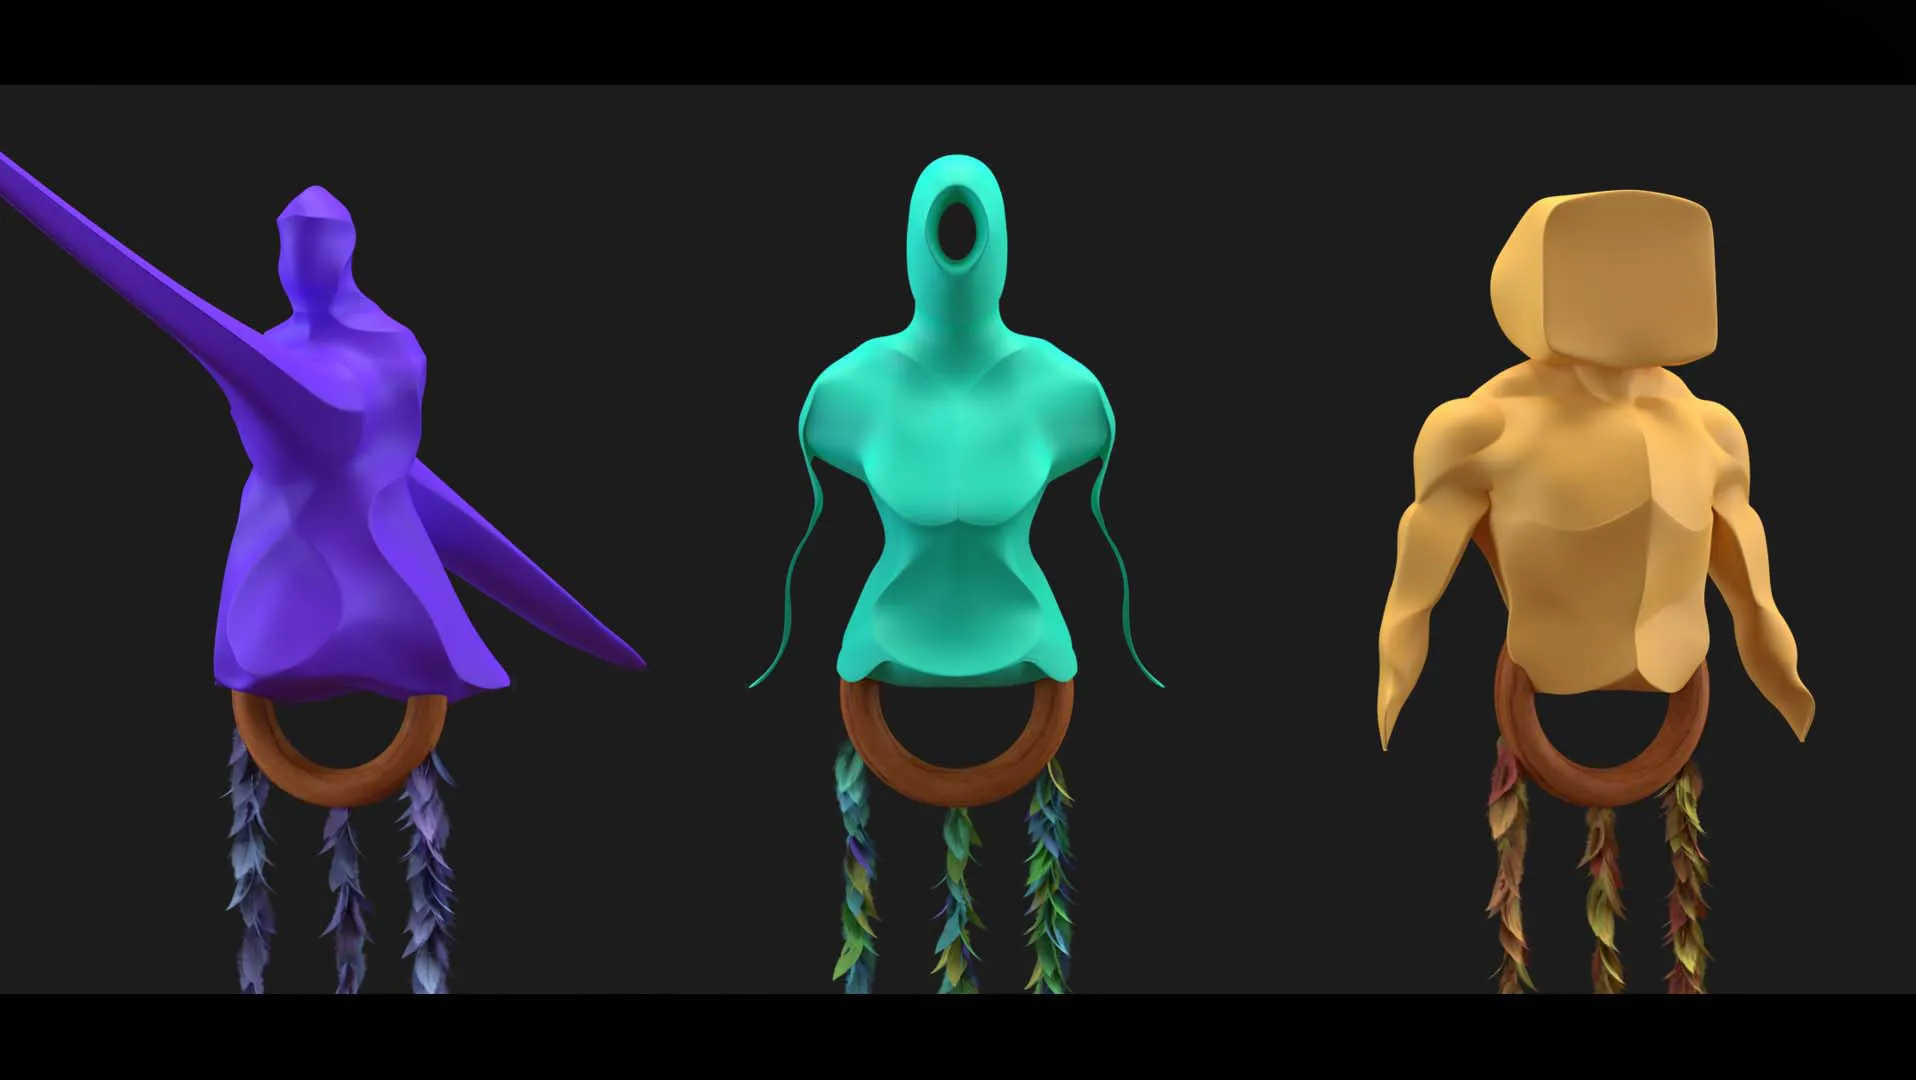
Broken Us
2023
The Lost Wallet
2022
Scope-O-Scope
2022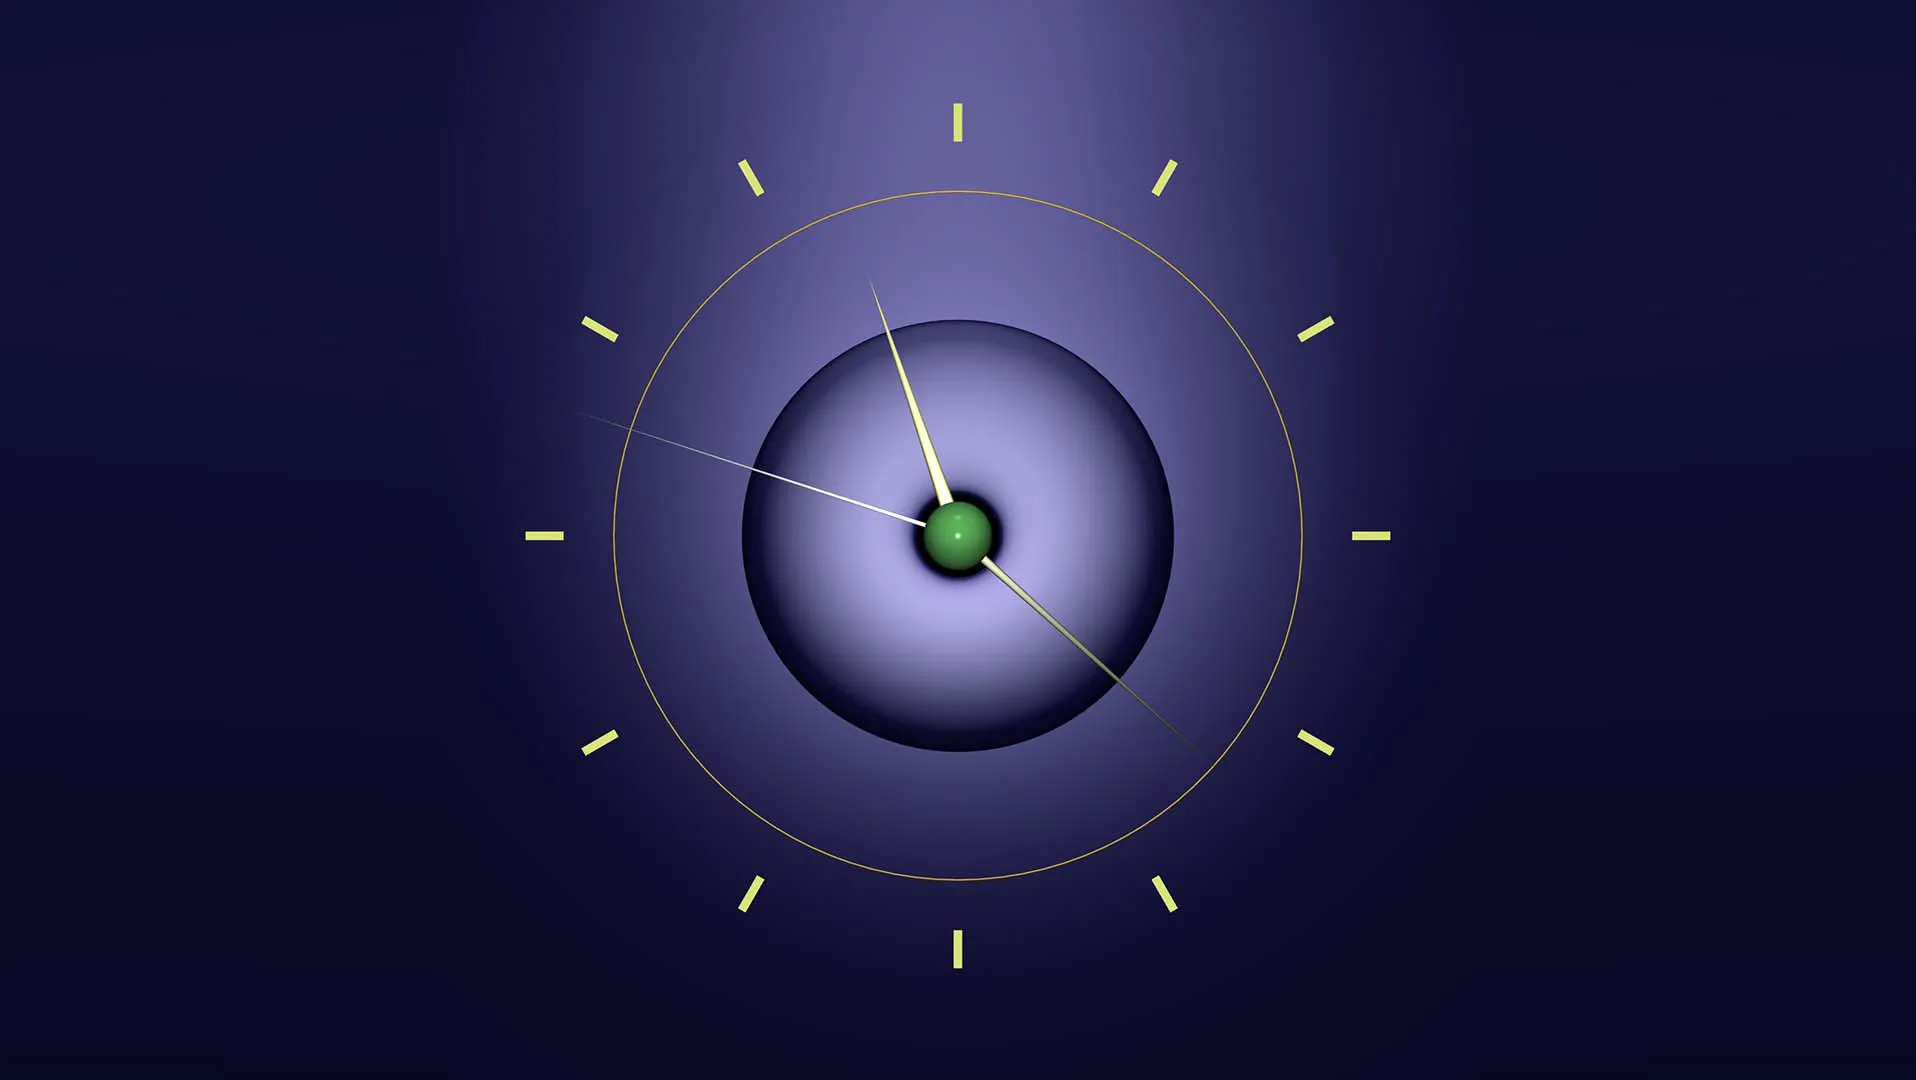
Utility
2022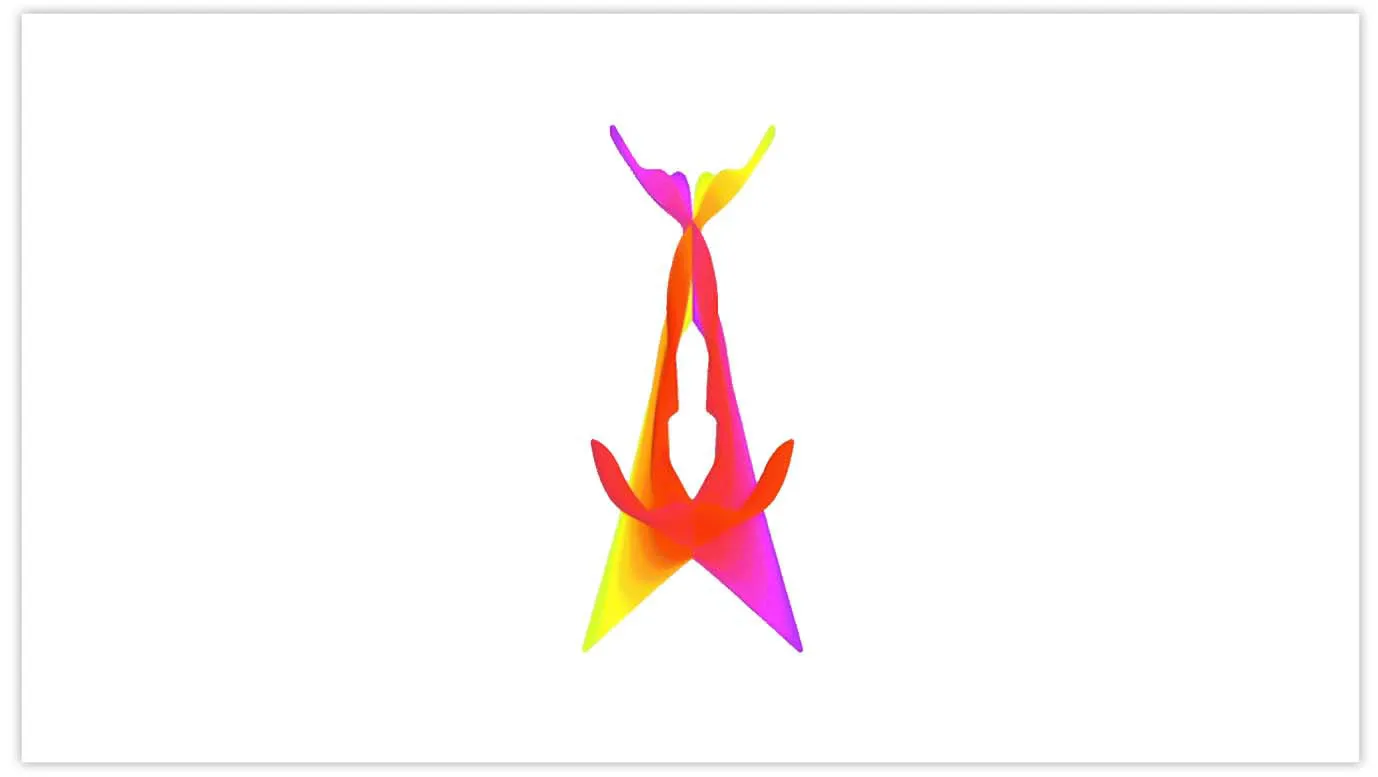
Heart Art
2022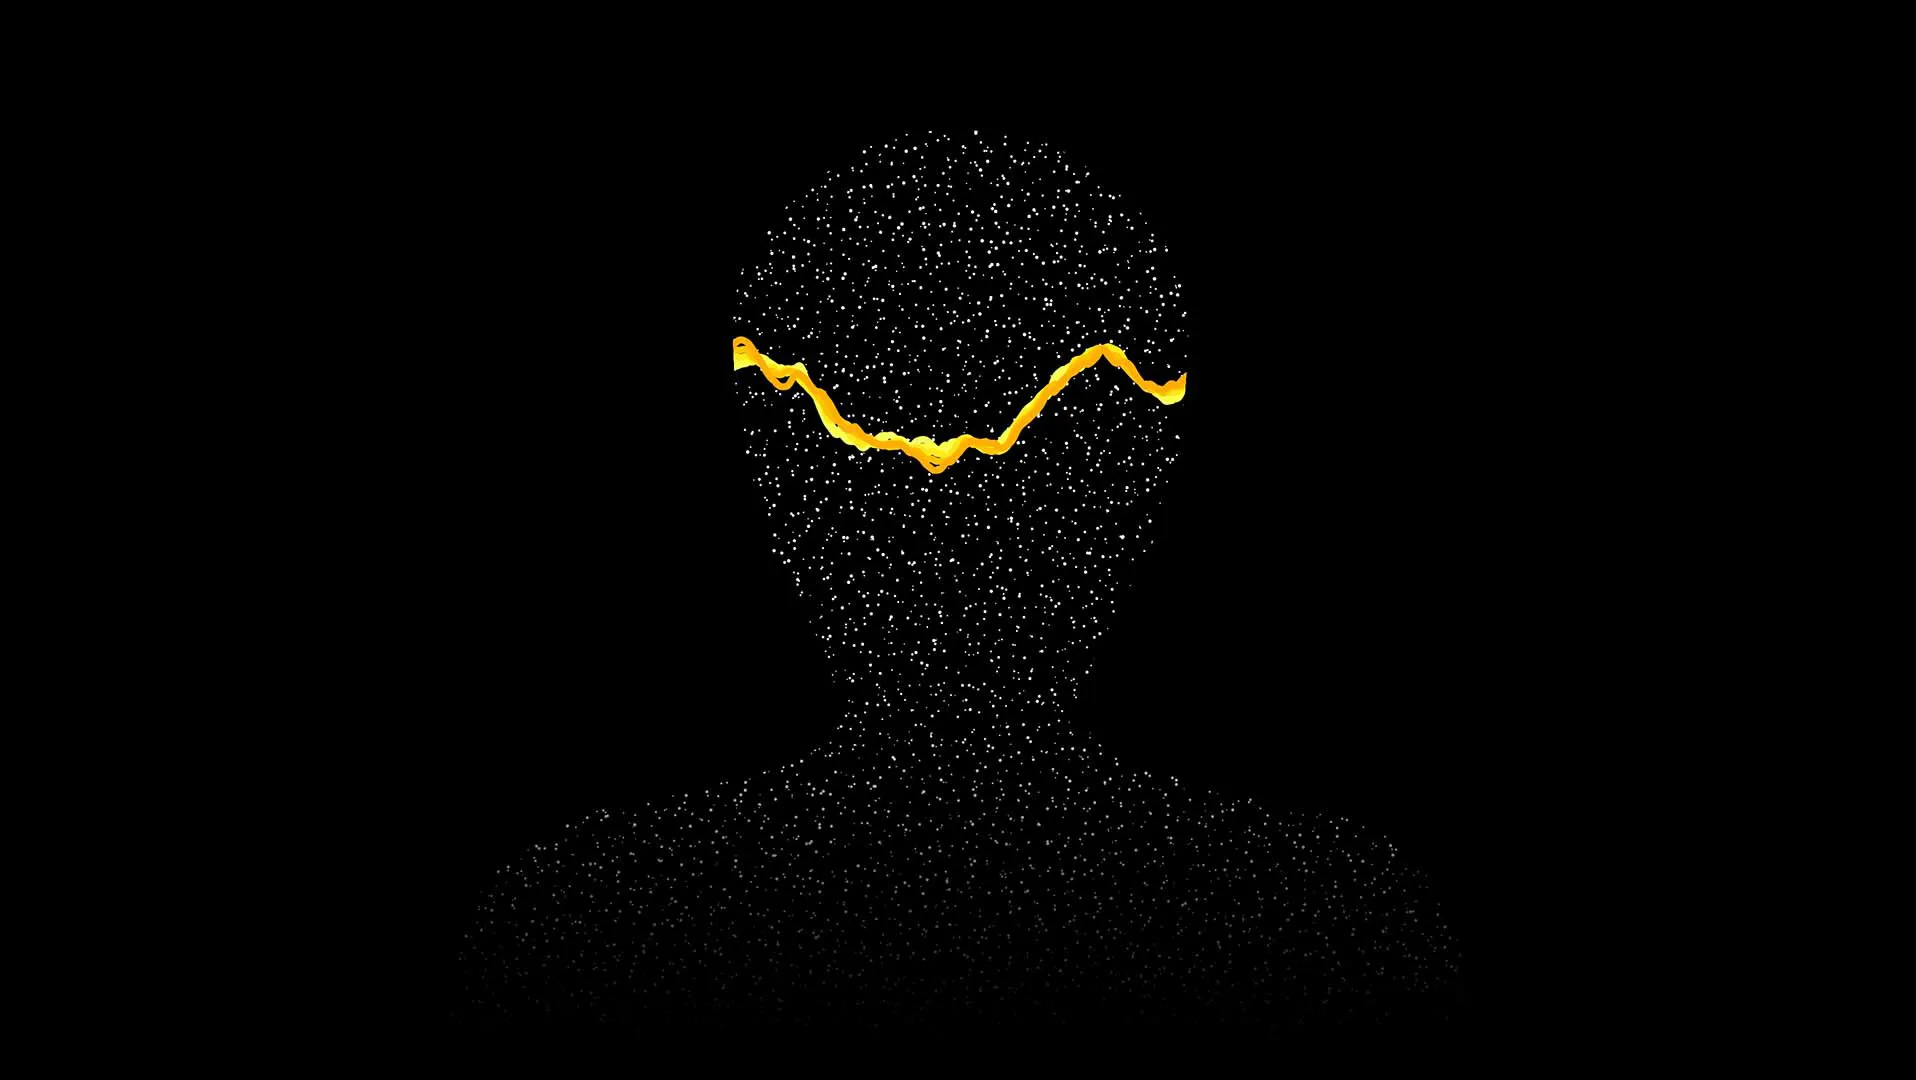
Leave Me Be
2022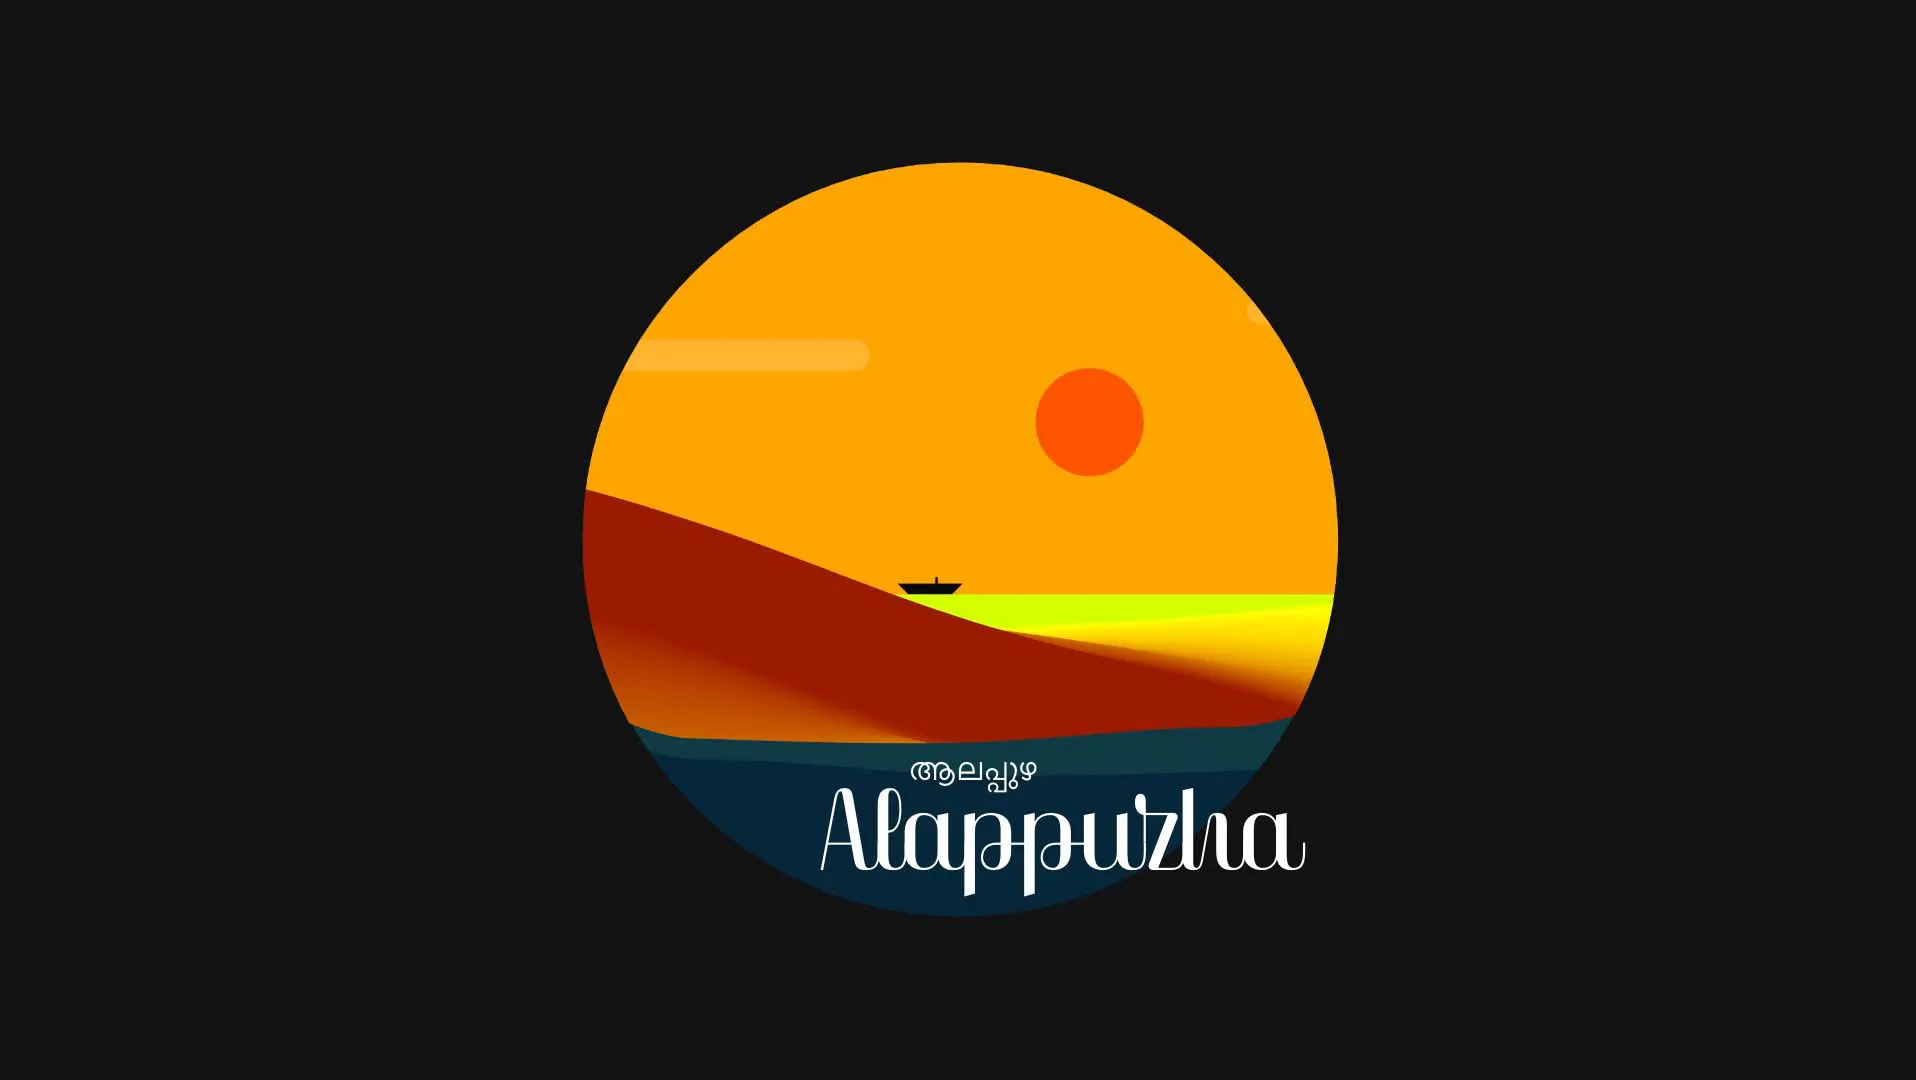
Alappuzha
2021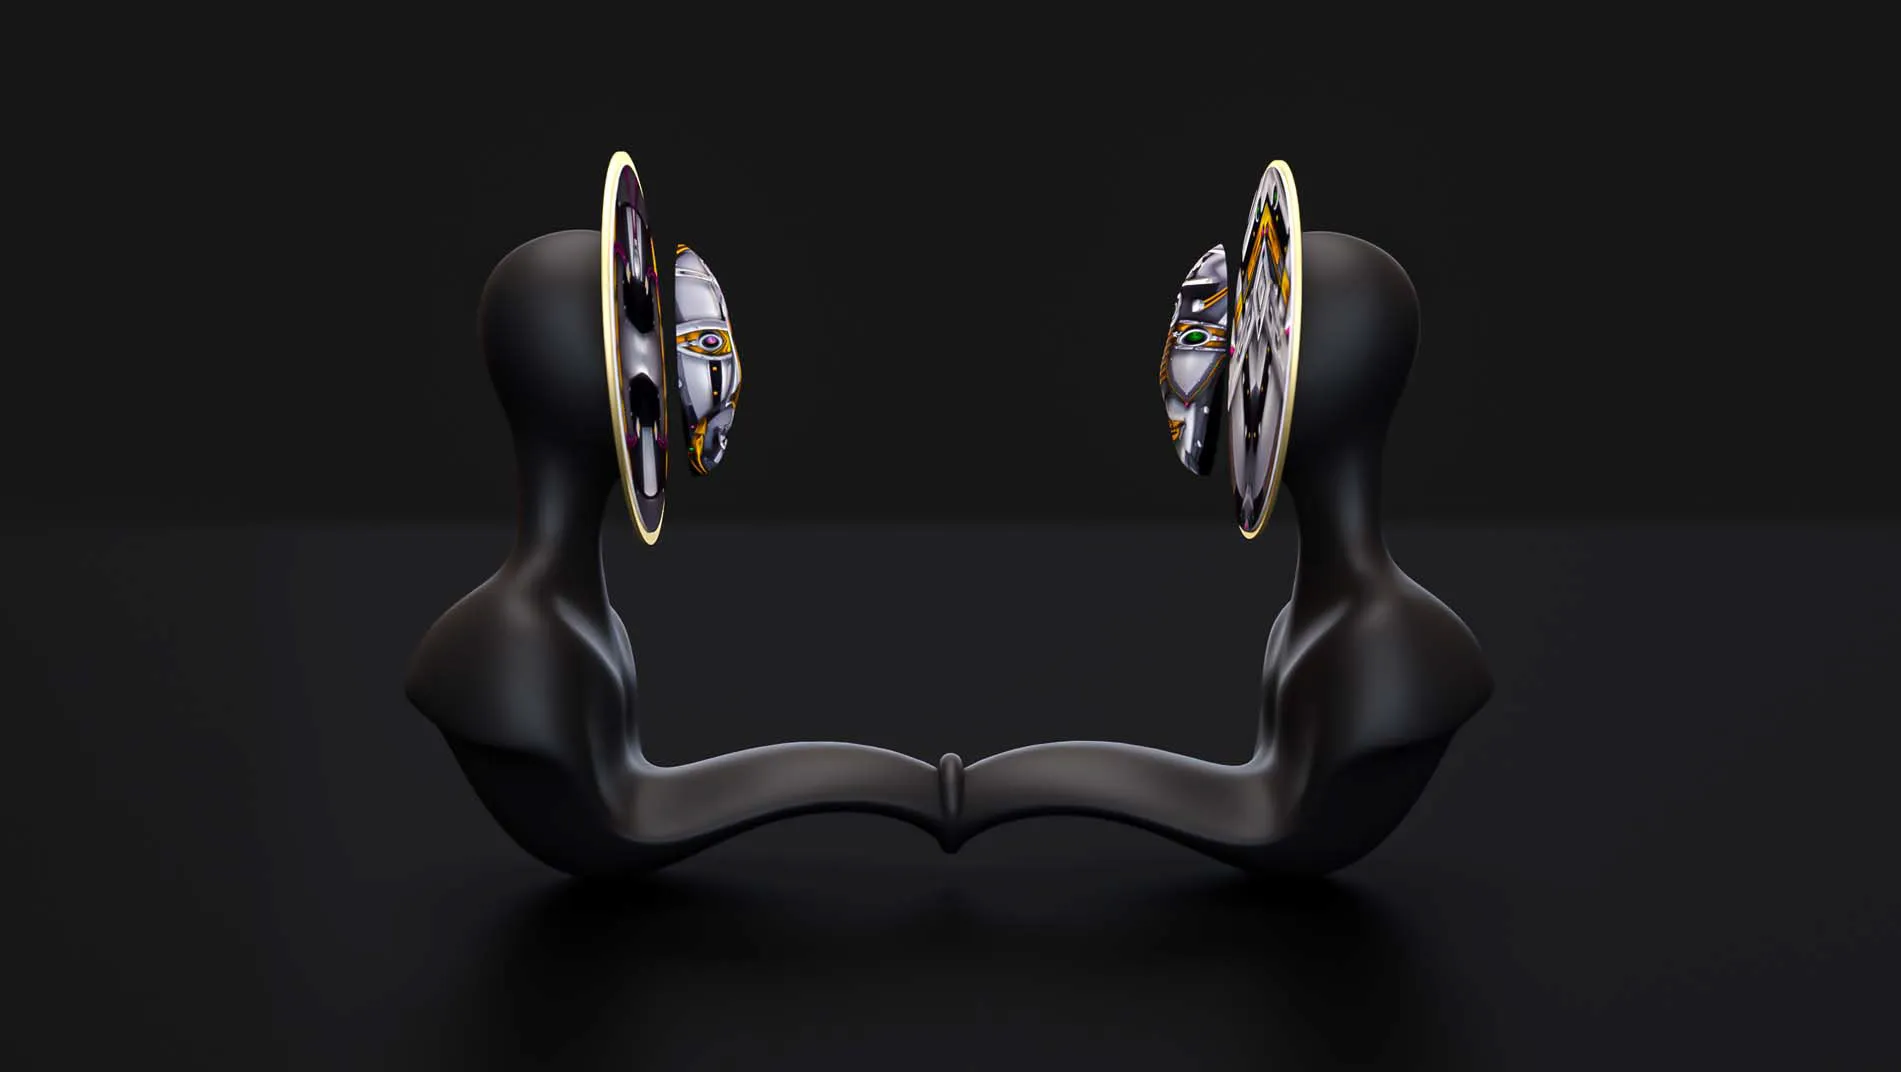
Formless
2021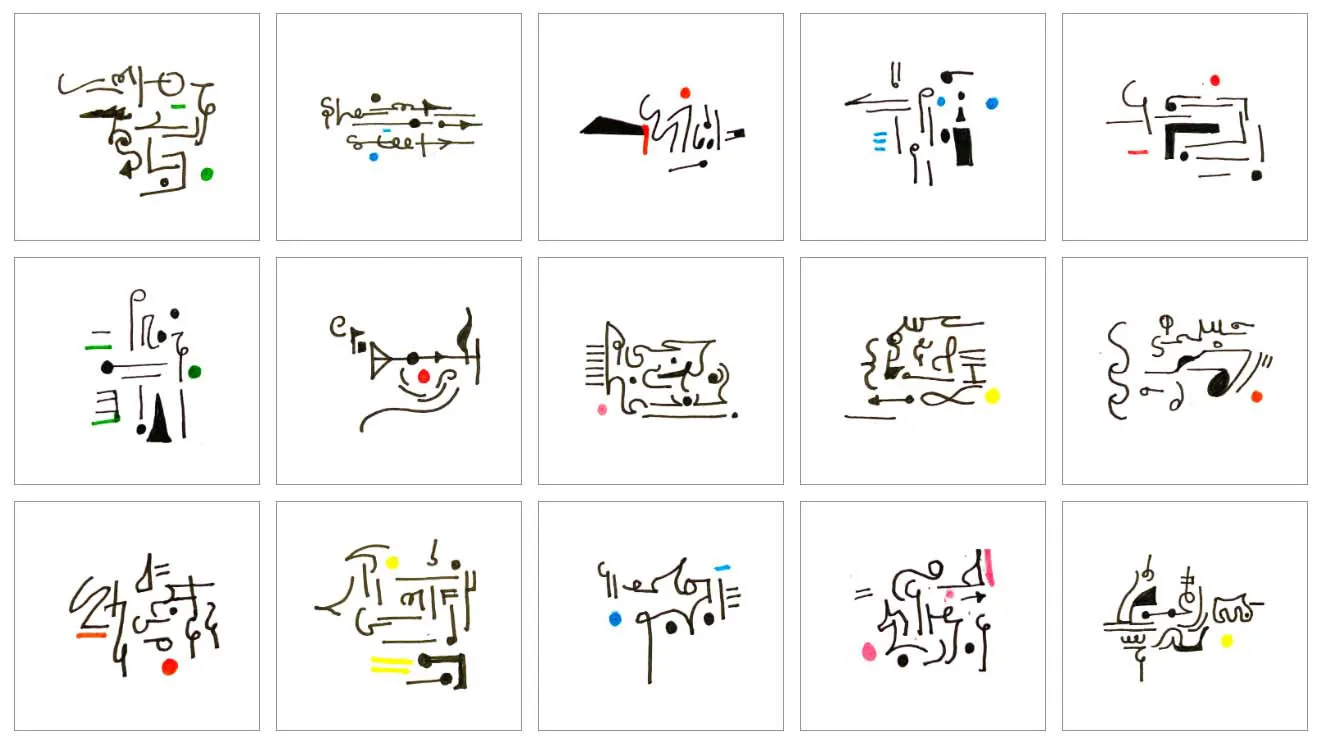
Auto
2021
I
2021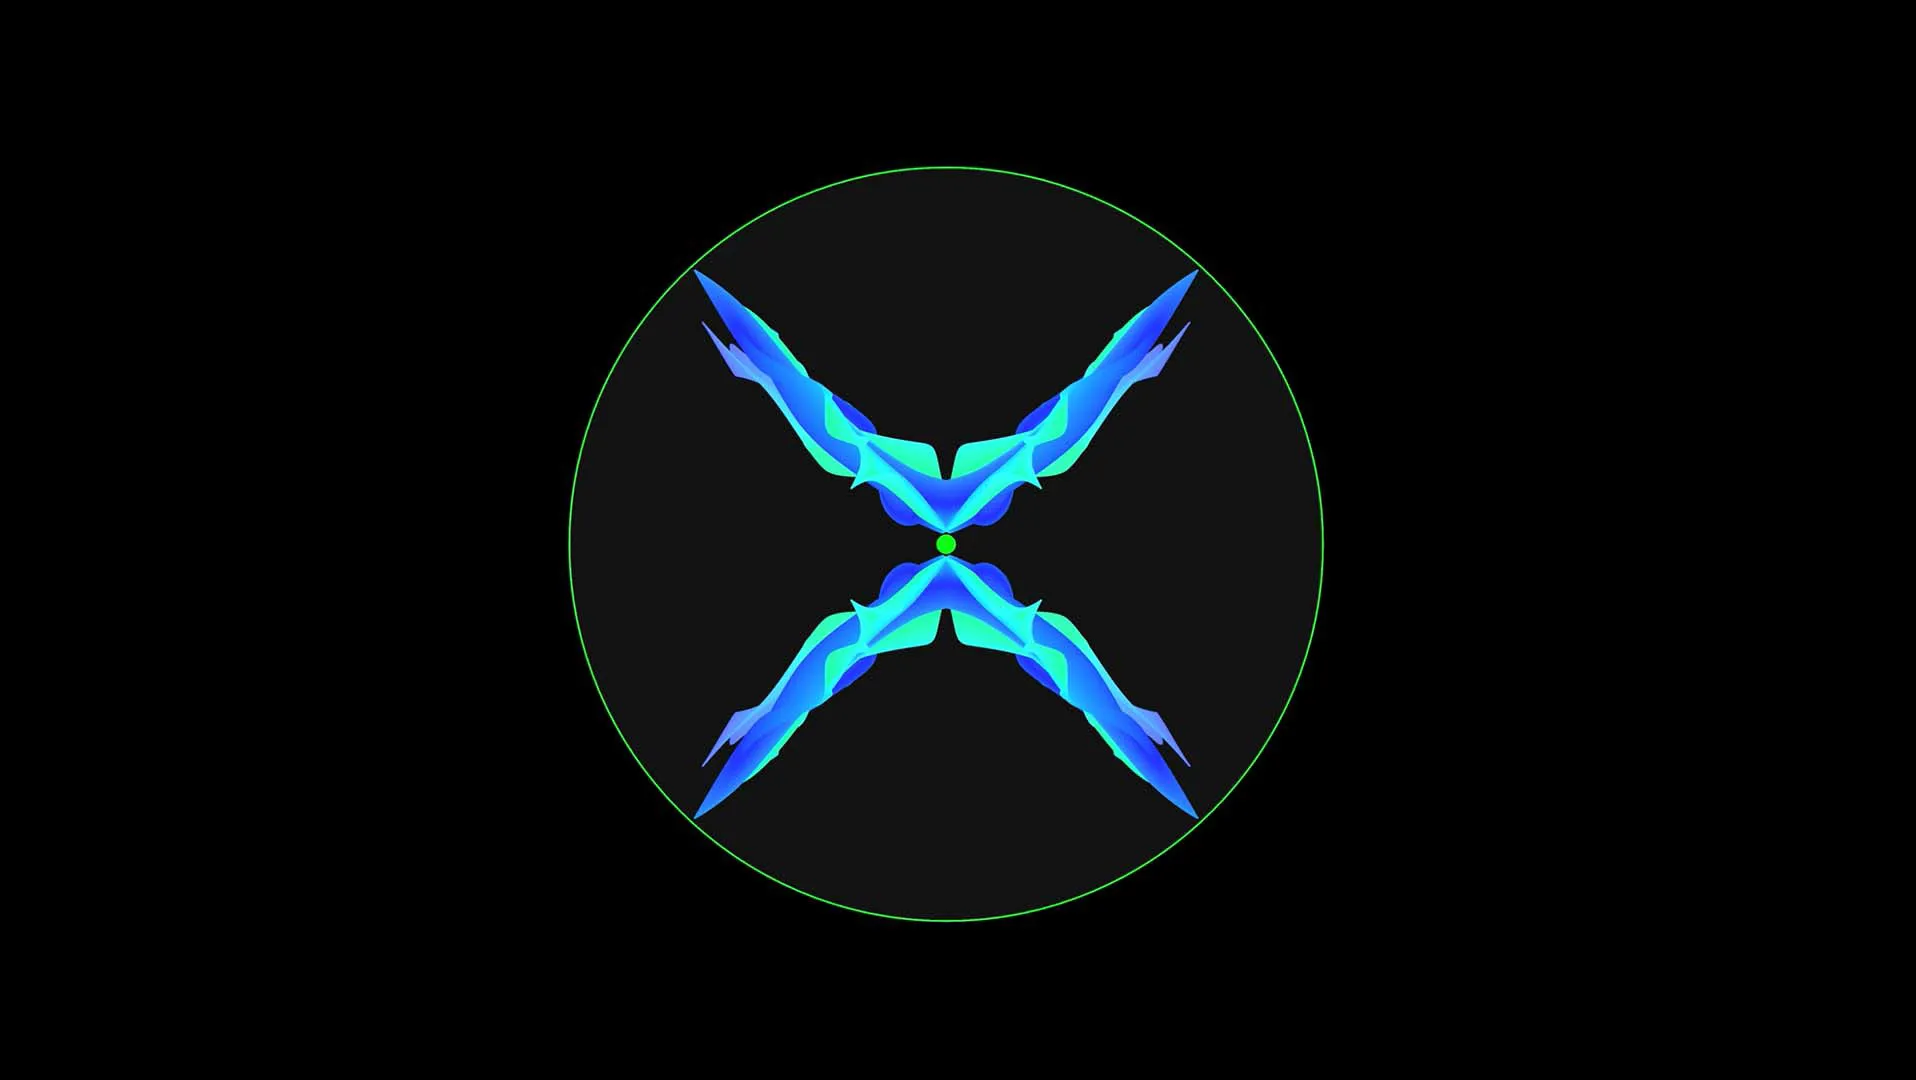
Petri
2021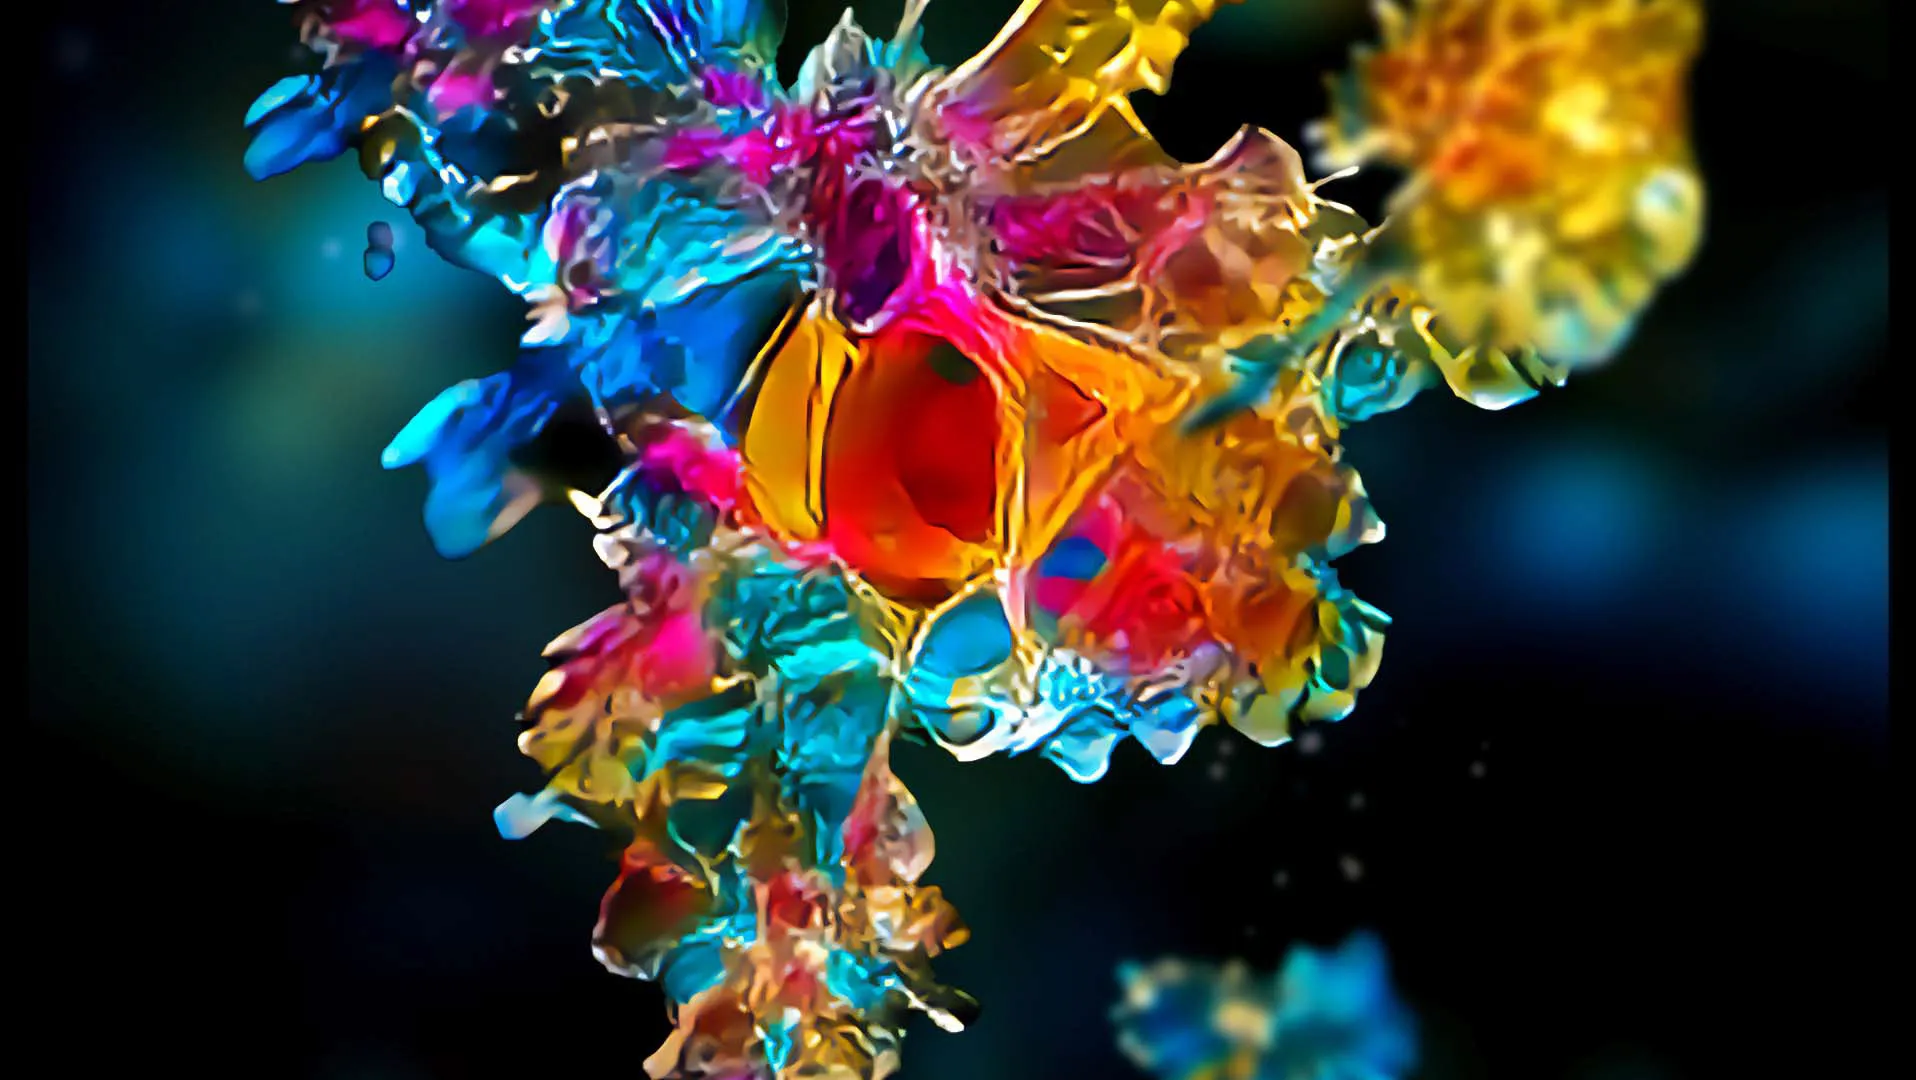
Nanorganics
2021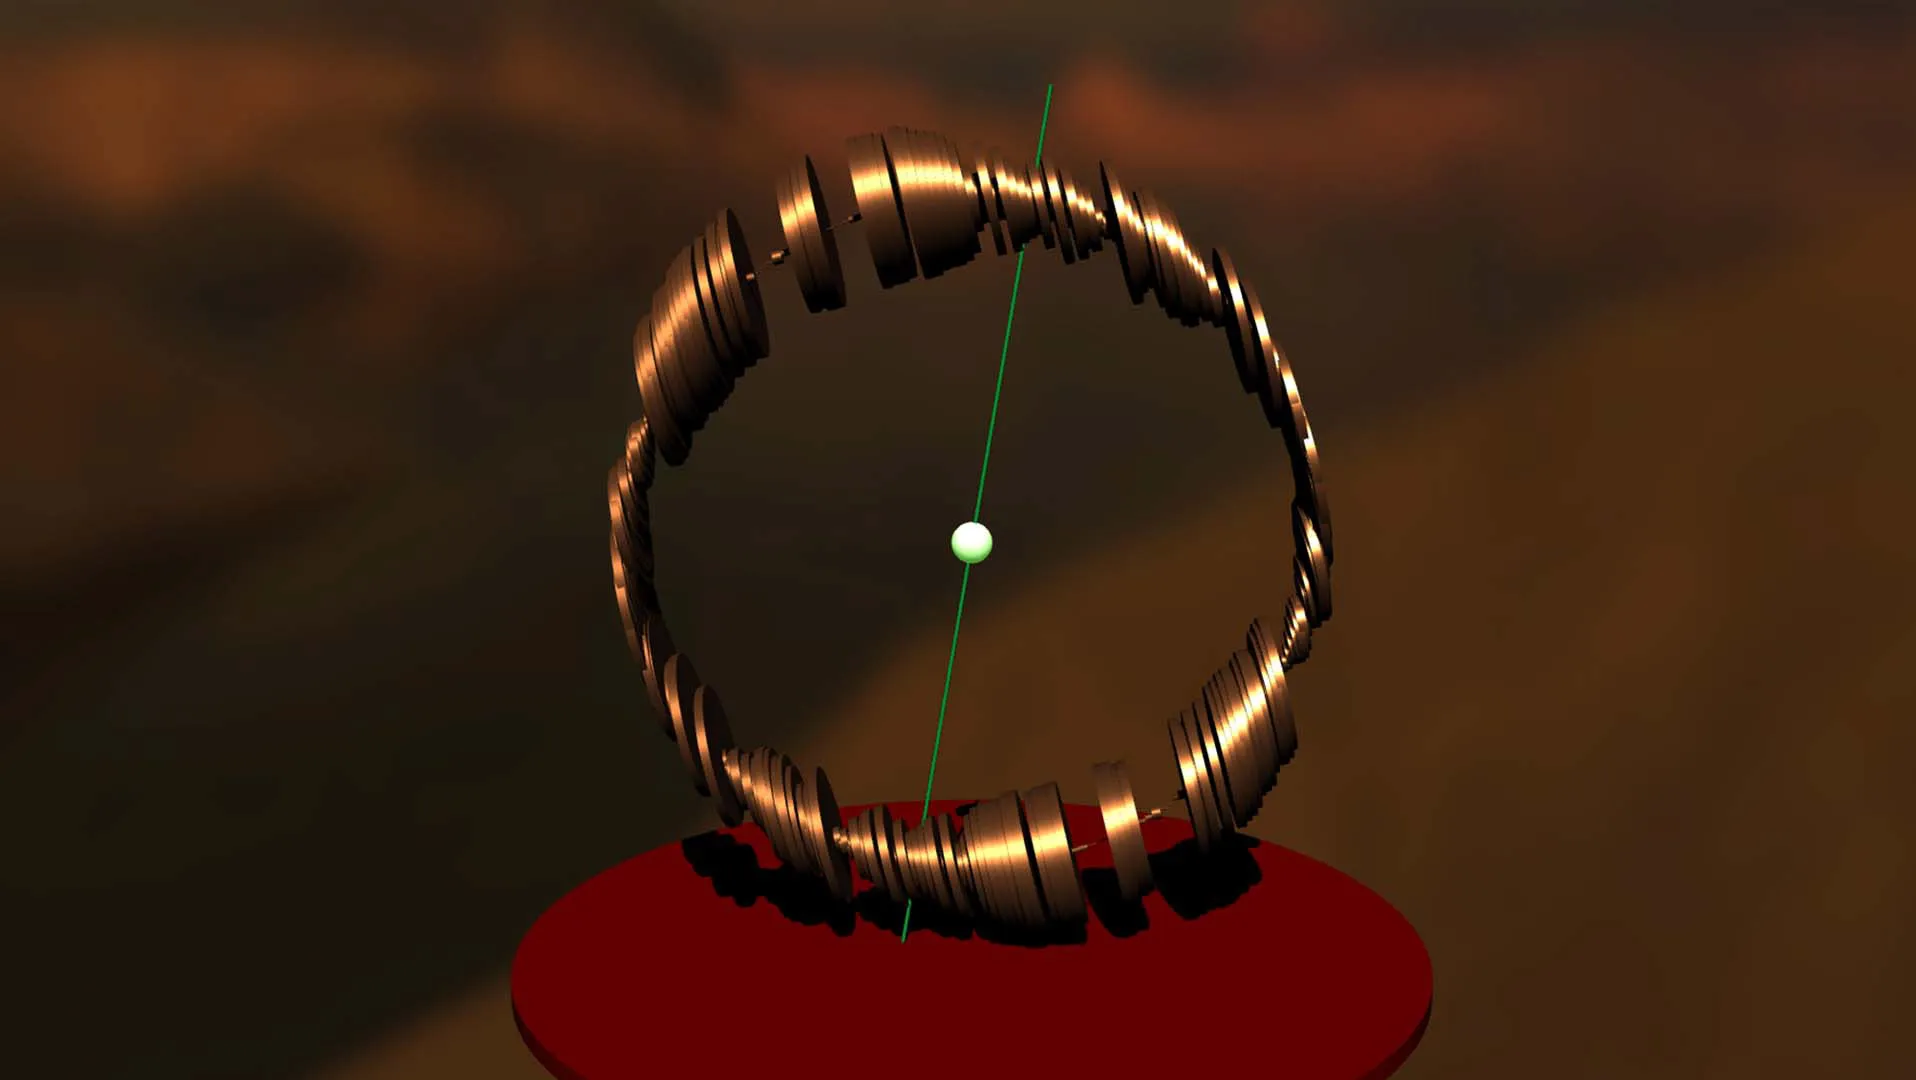
Voxorium
2020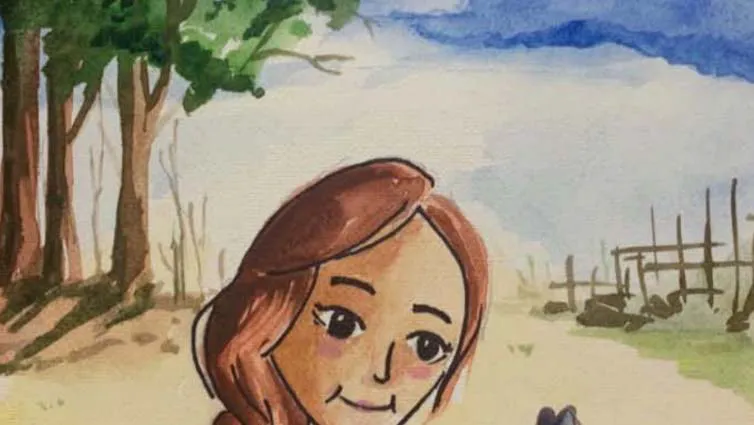
GPT3 Sees
2020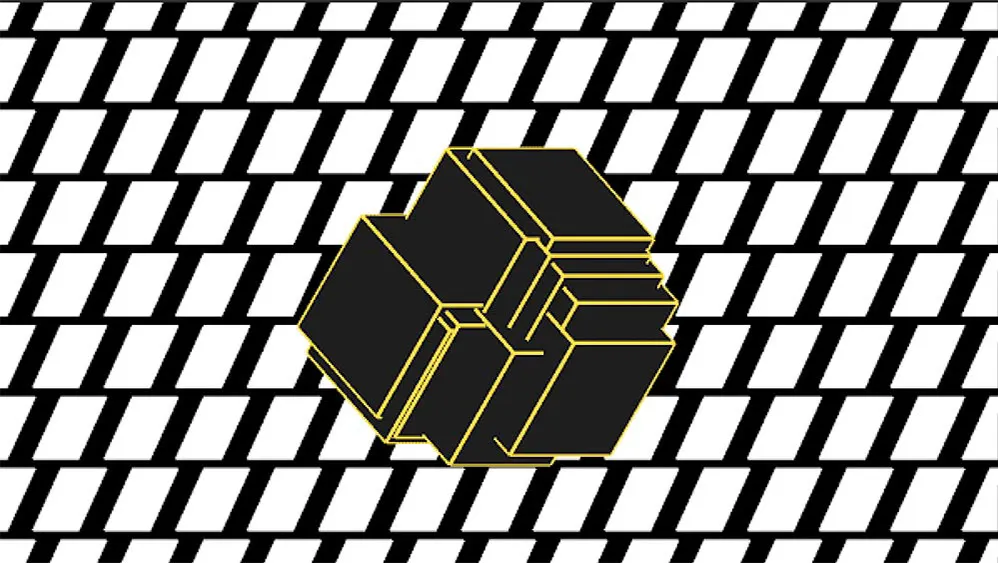
Schrodinger's Box
2020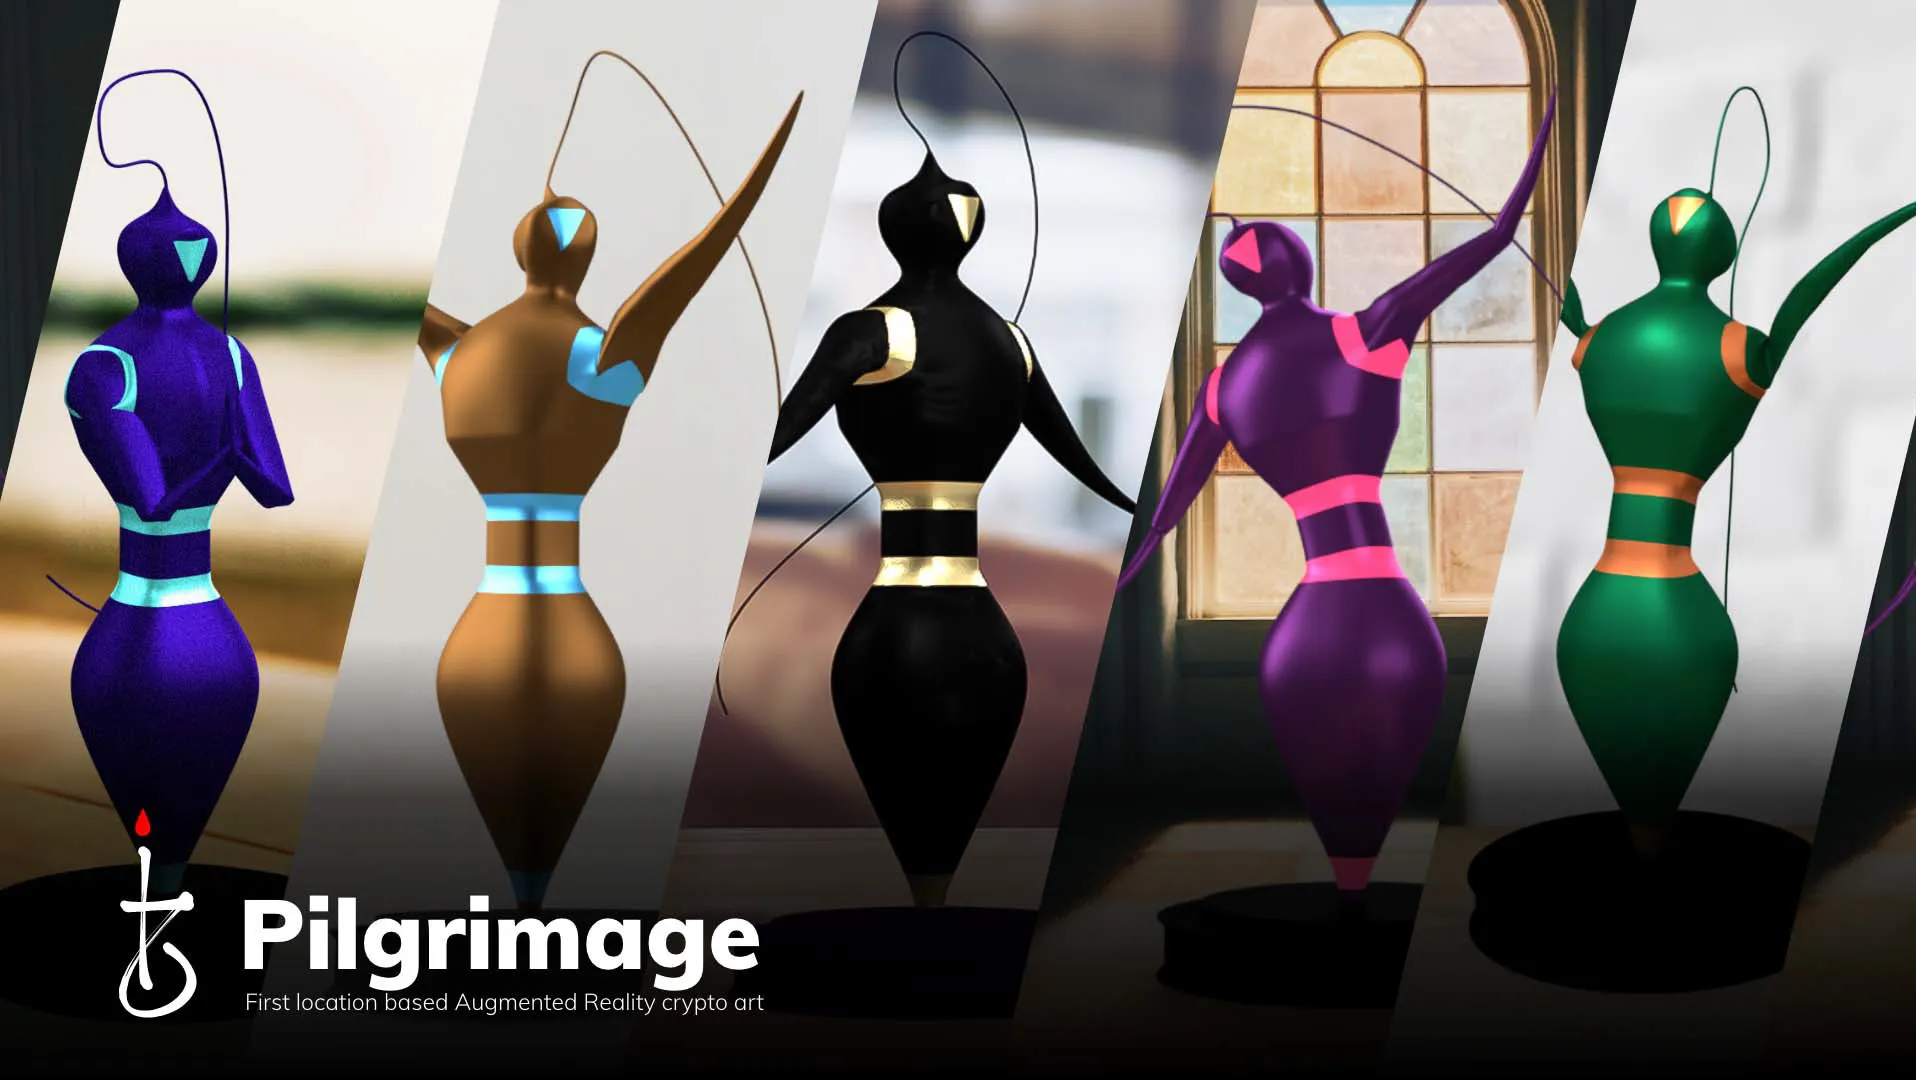
Pilgrimage
2020
Chromology
2020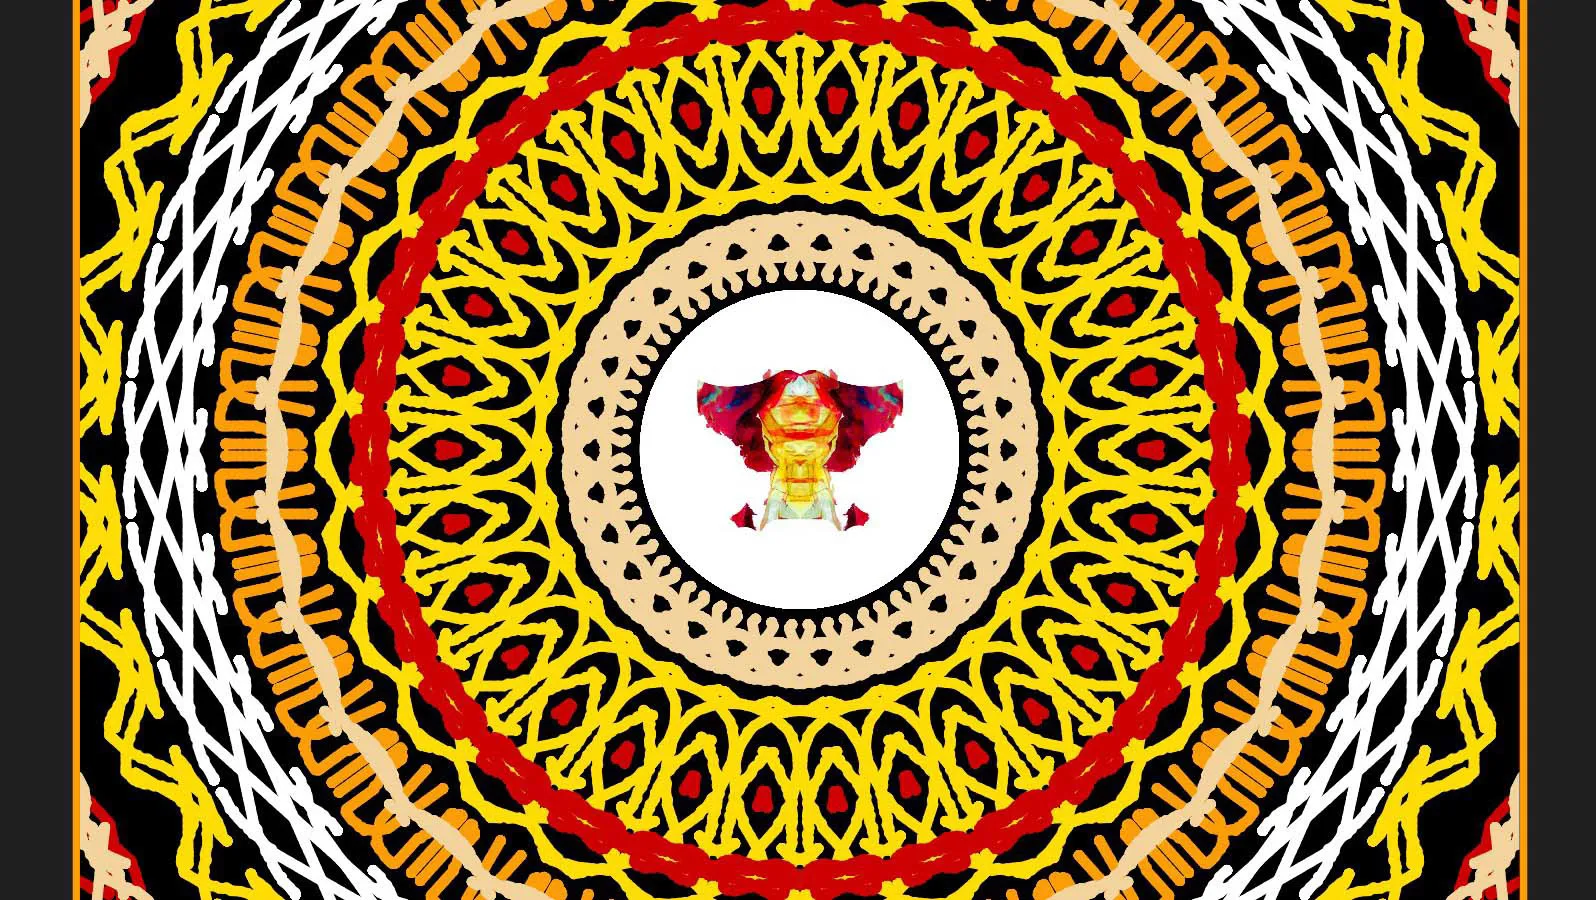
Regalia
2020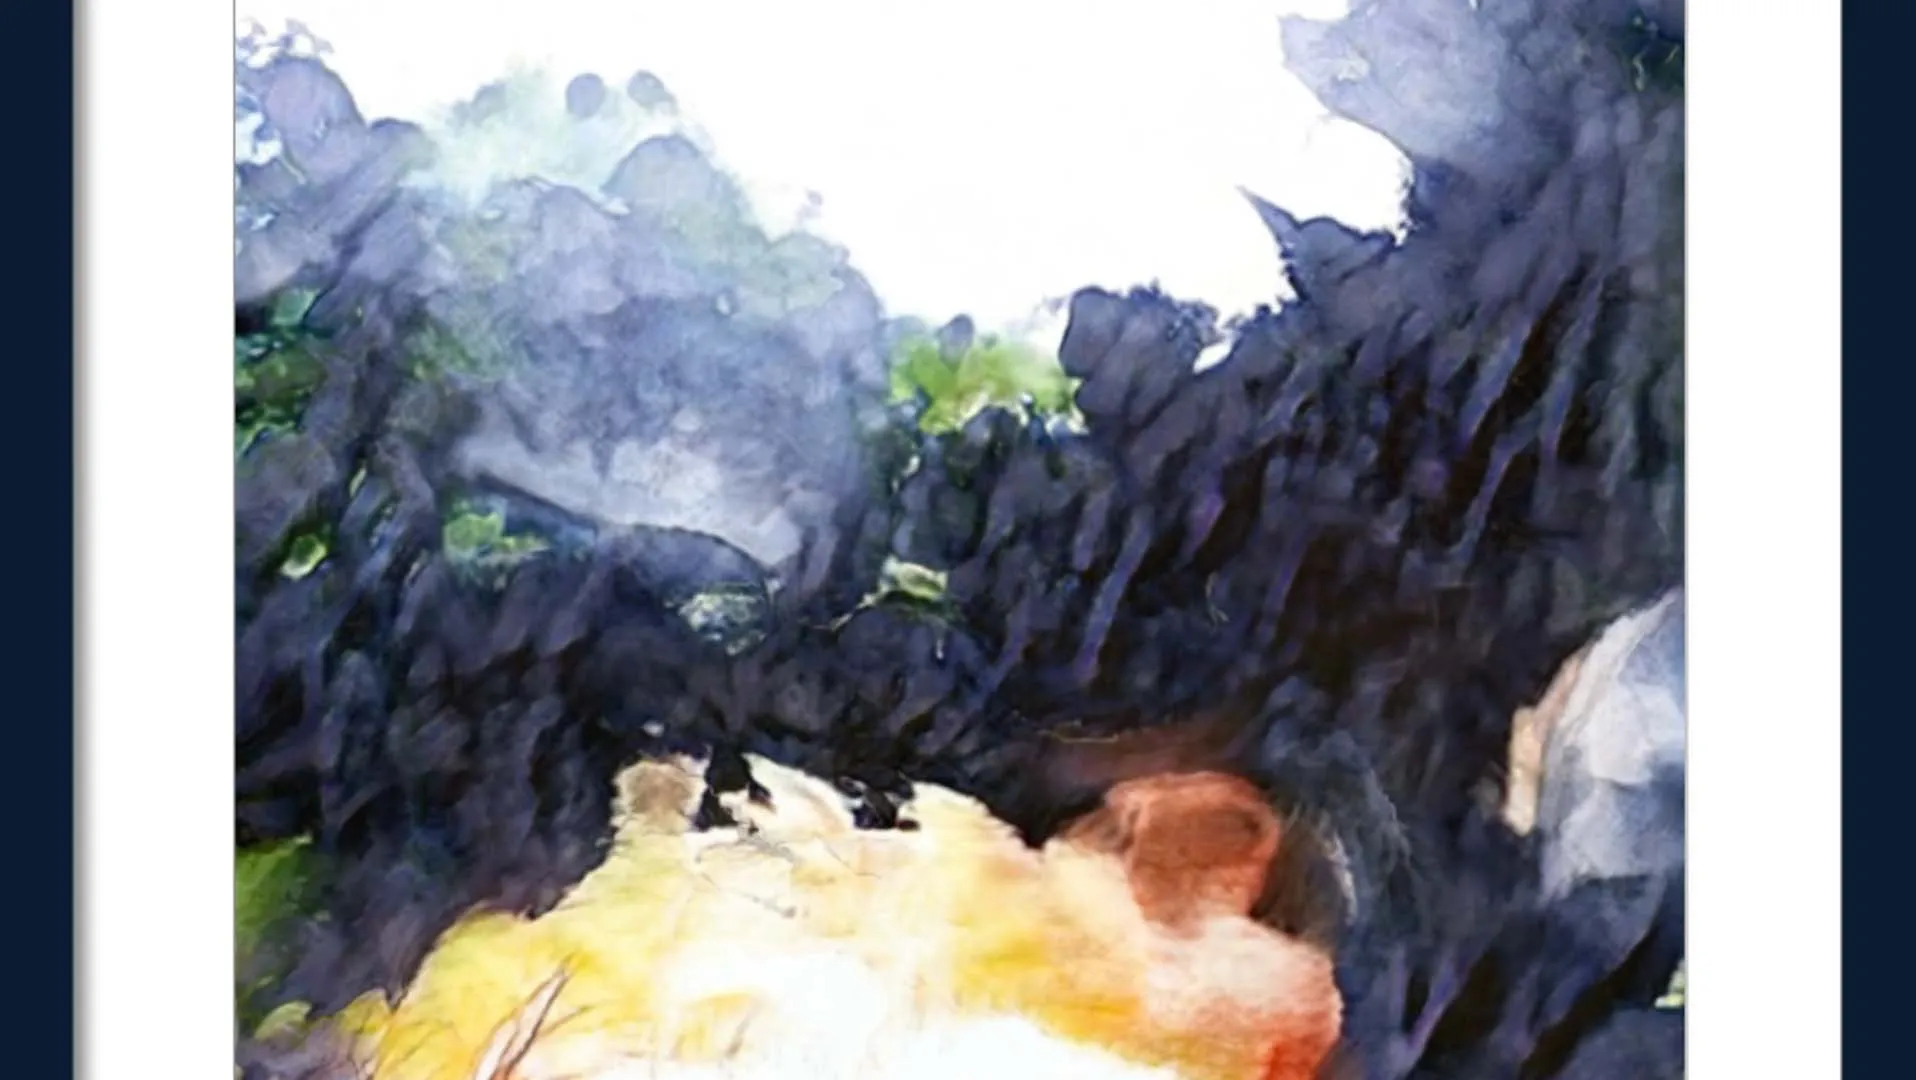
Ode 2
2020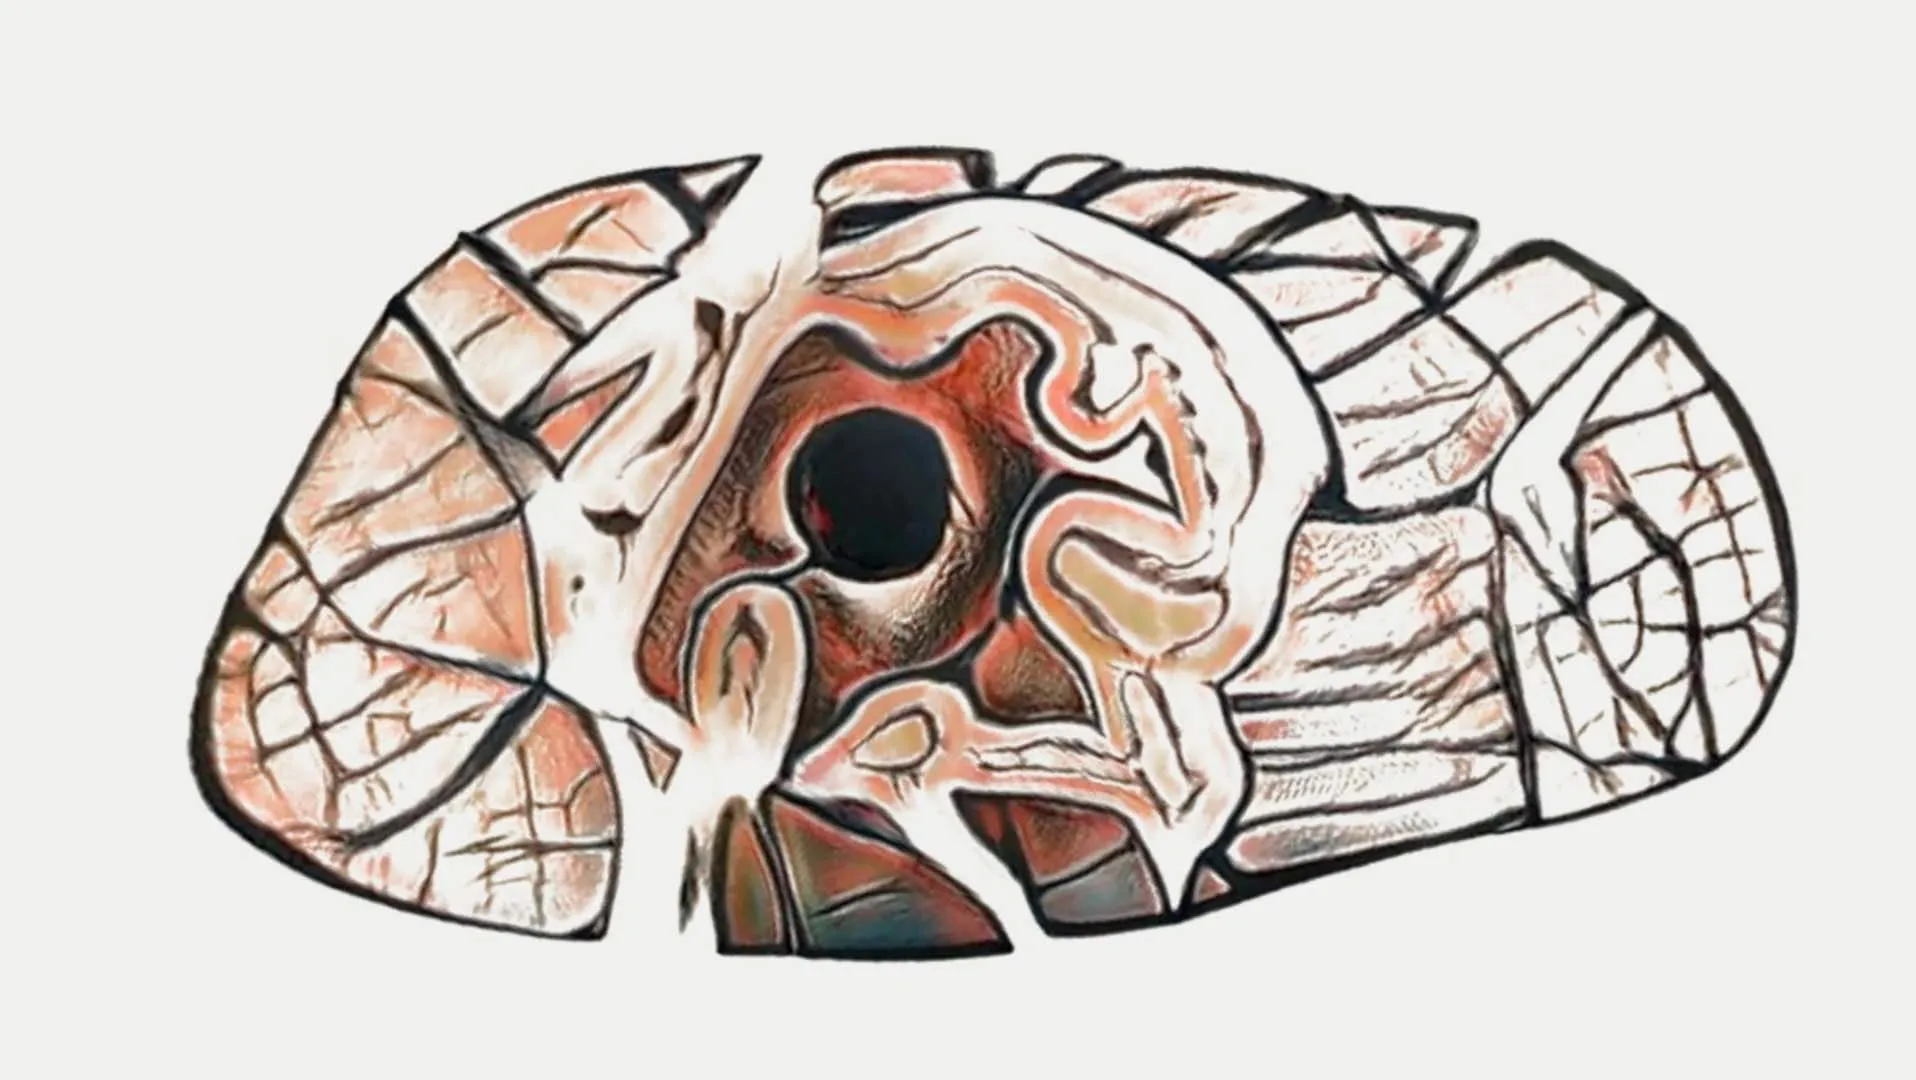
Ode
2020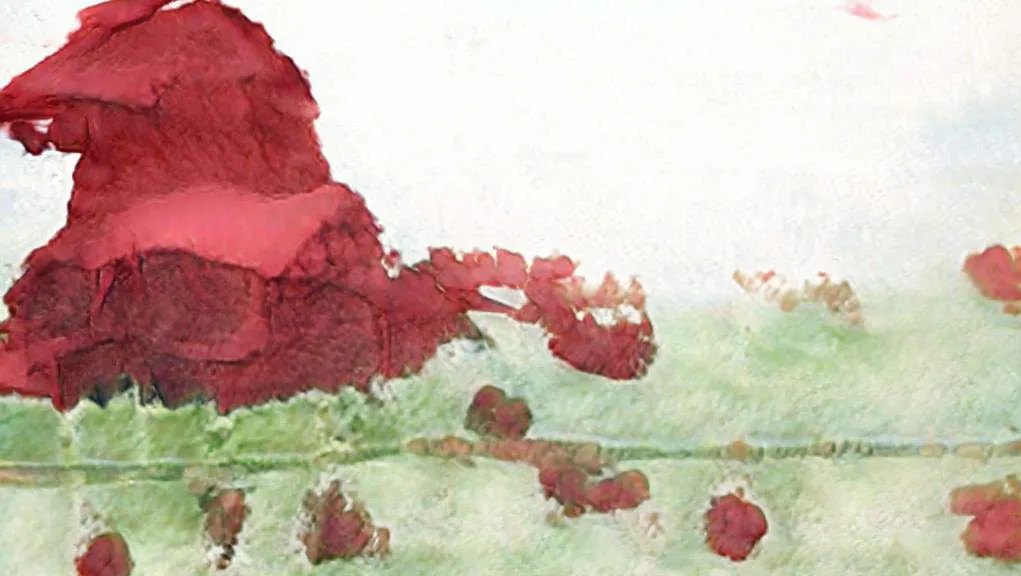
Watercolor Imaginarium
2020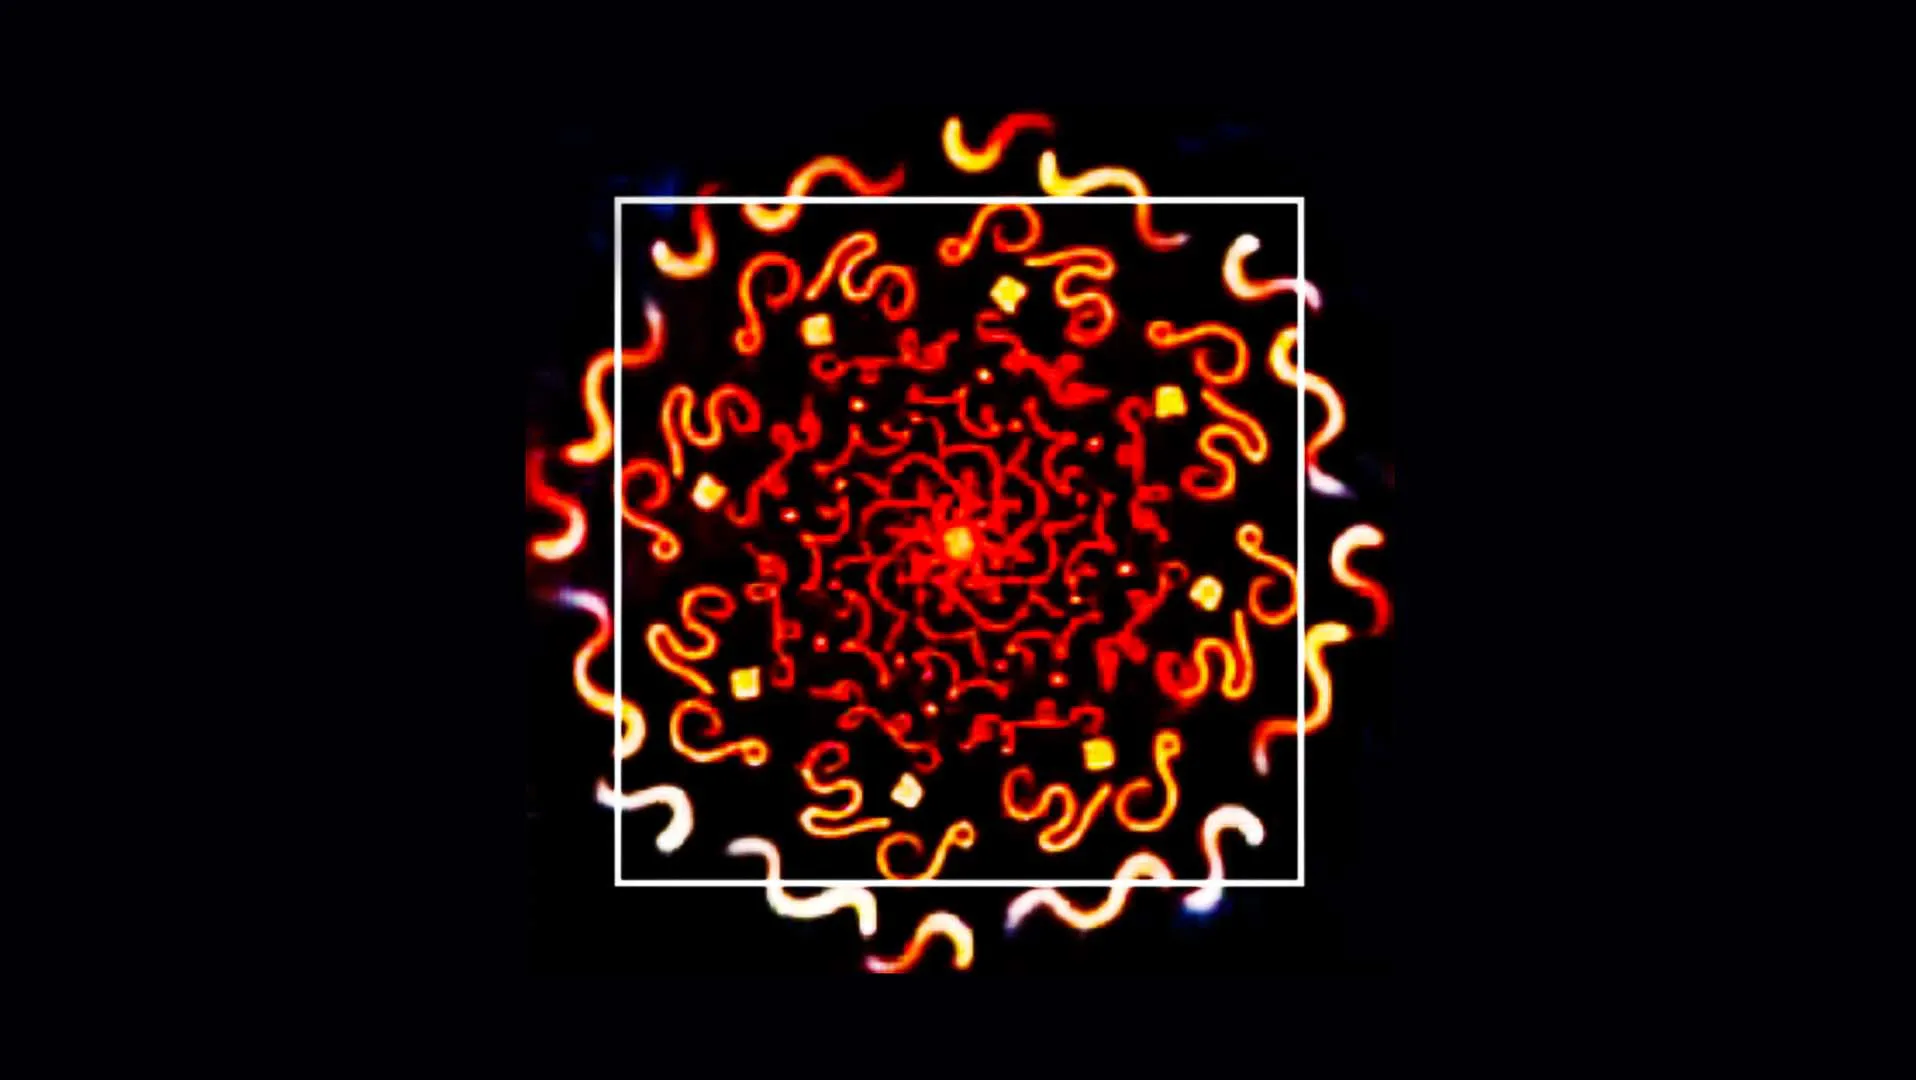
AI Brushes
2019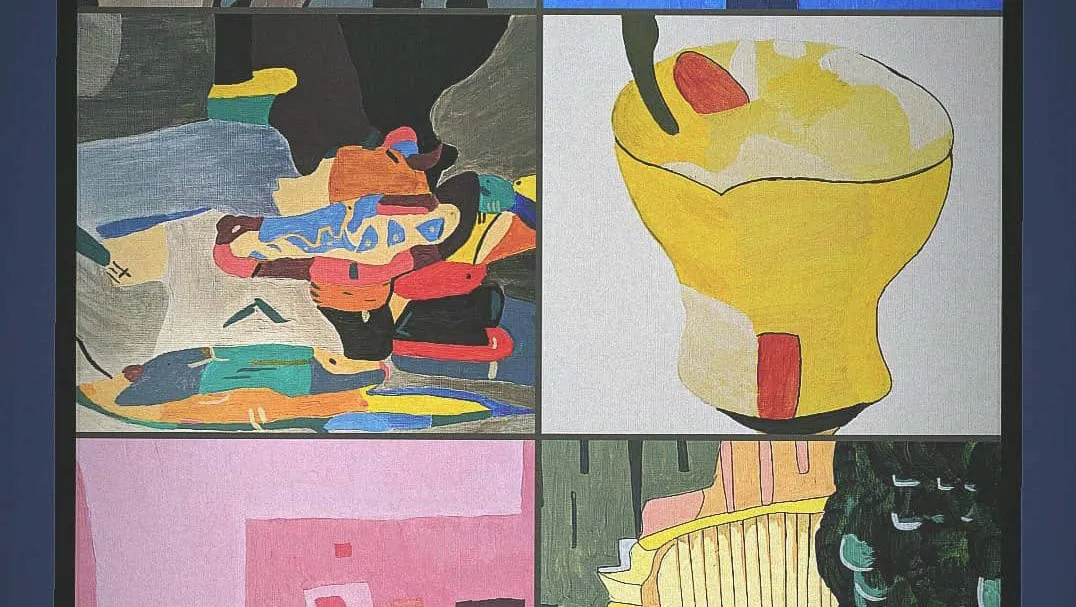
An Augmented Artist
2019
Auria Kathi
2019